
Pick a forgiving starter tree
Choosing the right species is the single most important decision for bonsai for beginners. A resilient tree absorbs mistakes like missed waterings or incorrect lighting, giving you time to learn the craft without losing your investment. While any tree can technically be shaped, starting with a forgiving variety dramatically reduces early failure rates and keeps the hobby enjoyable.
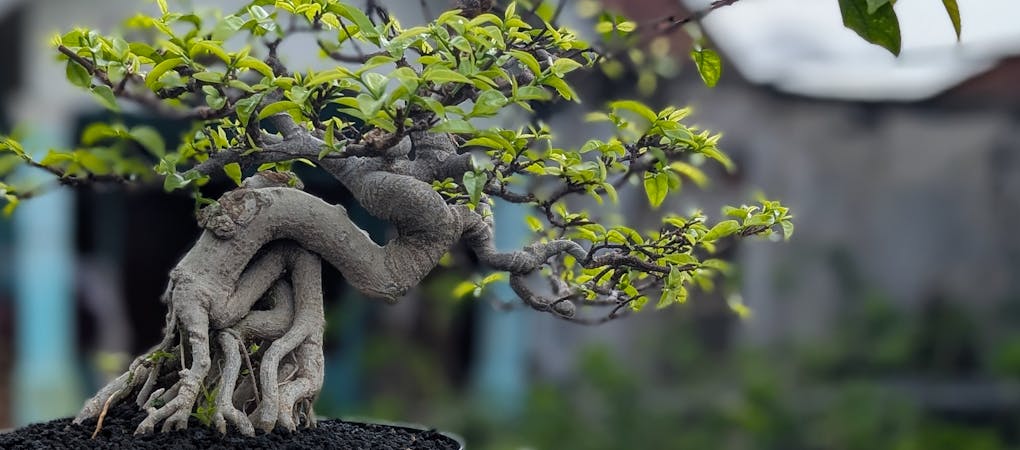
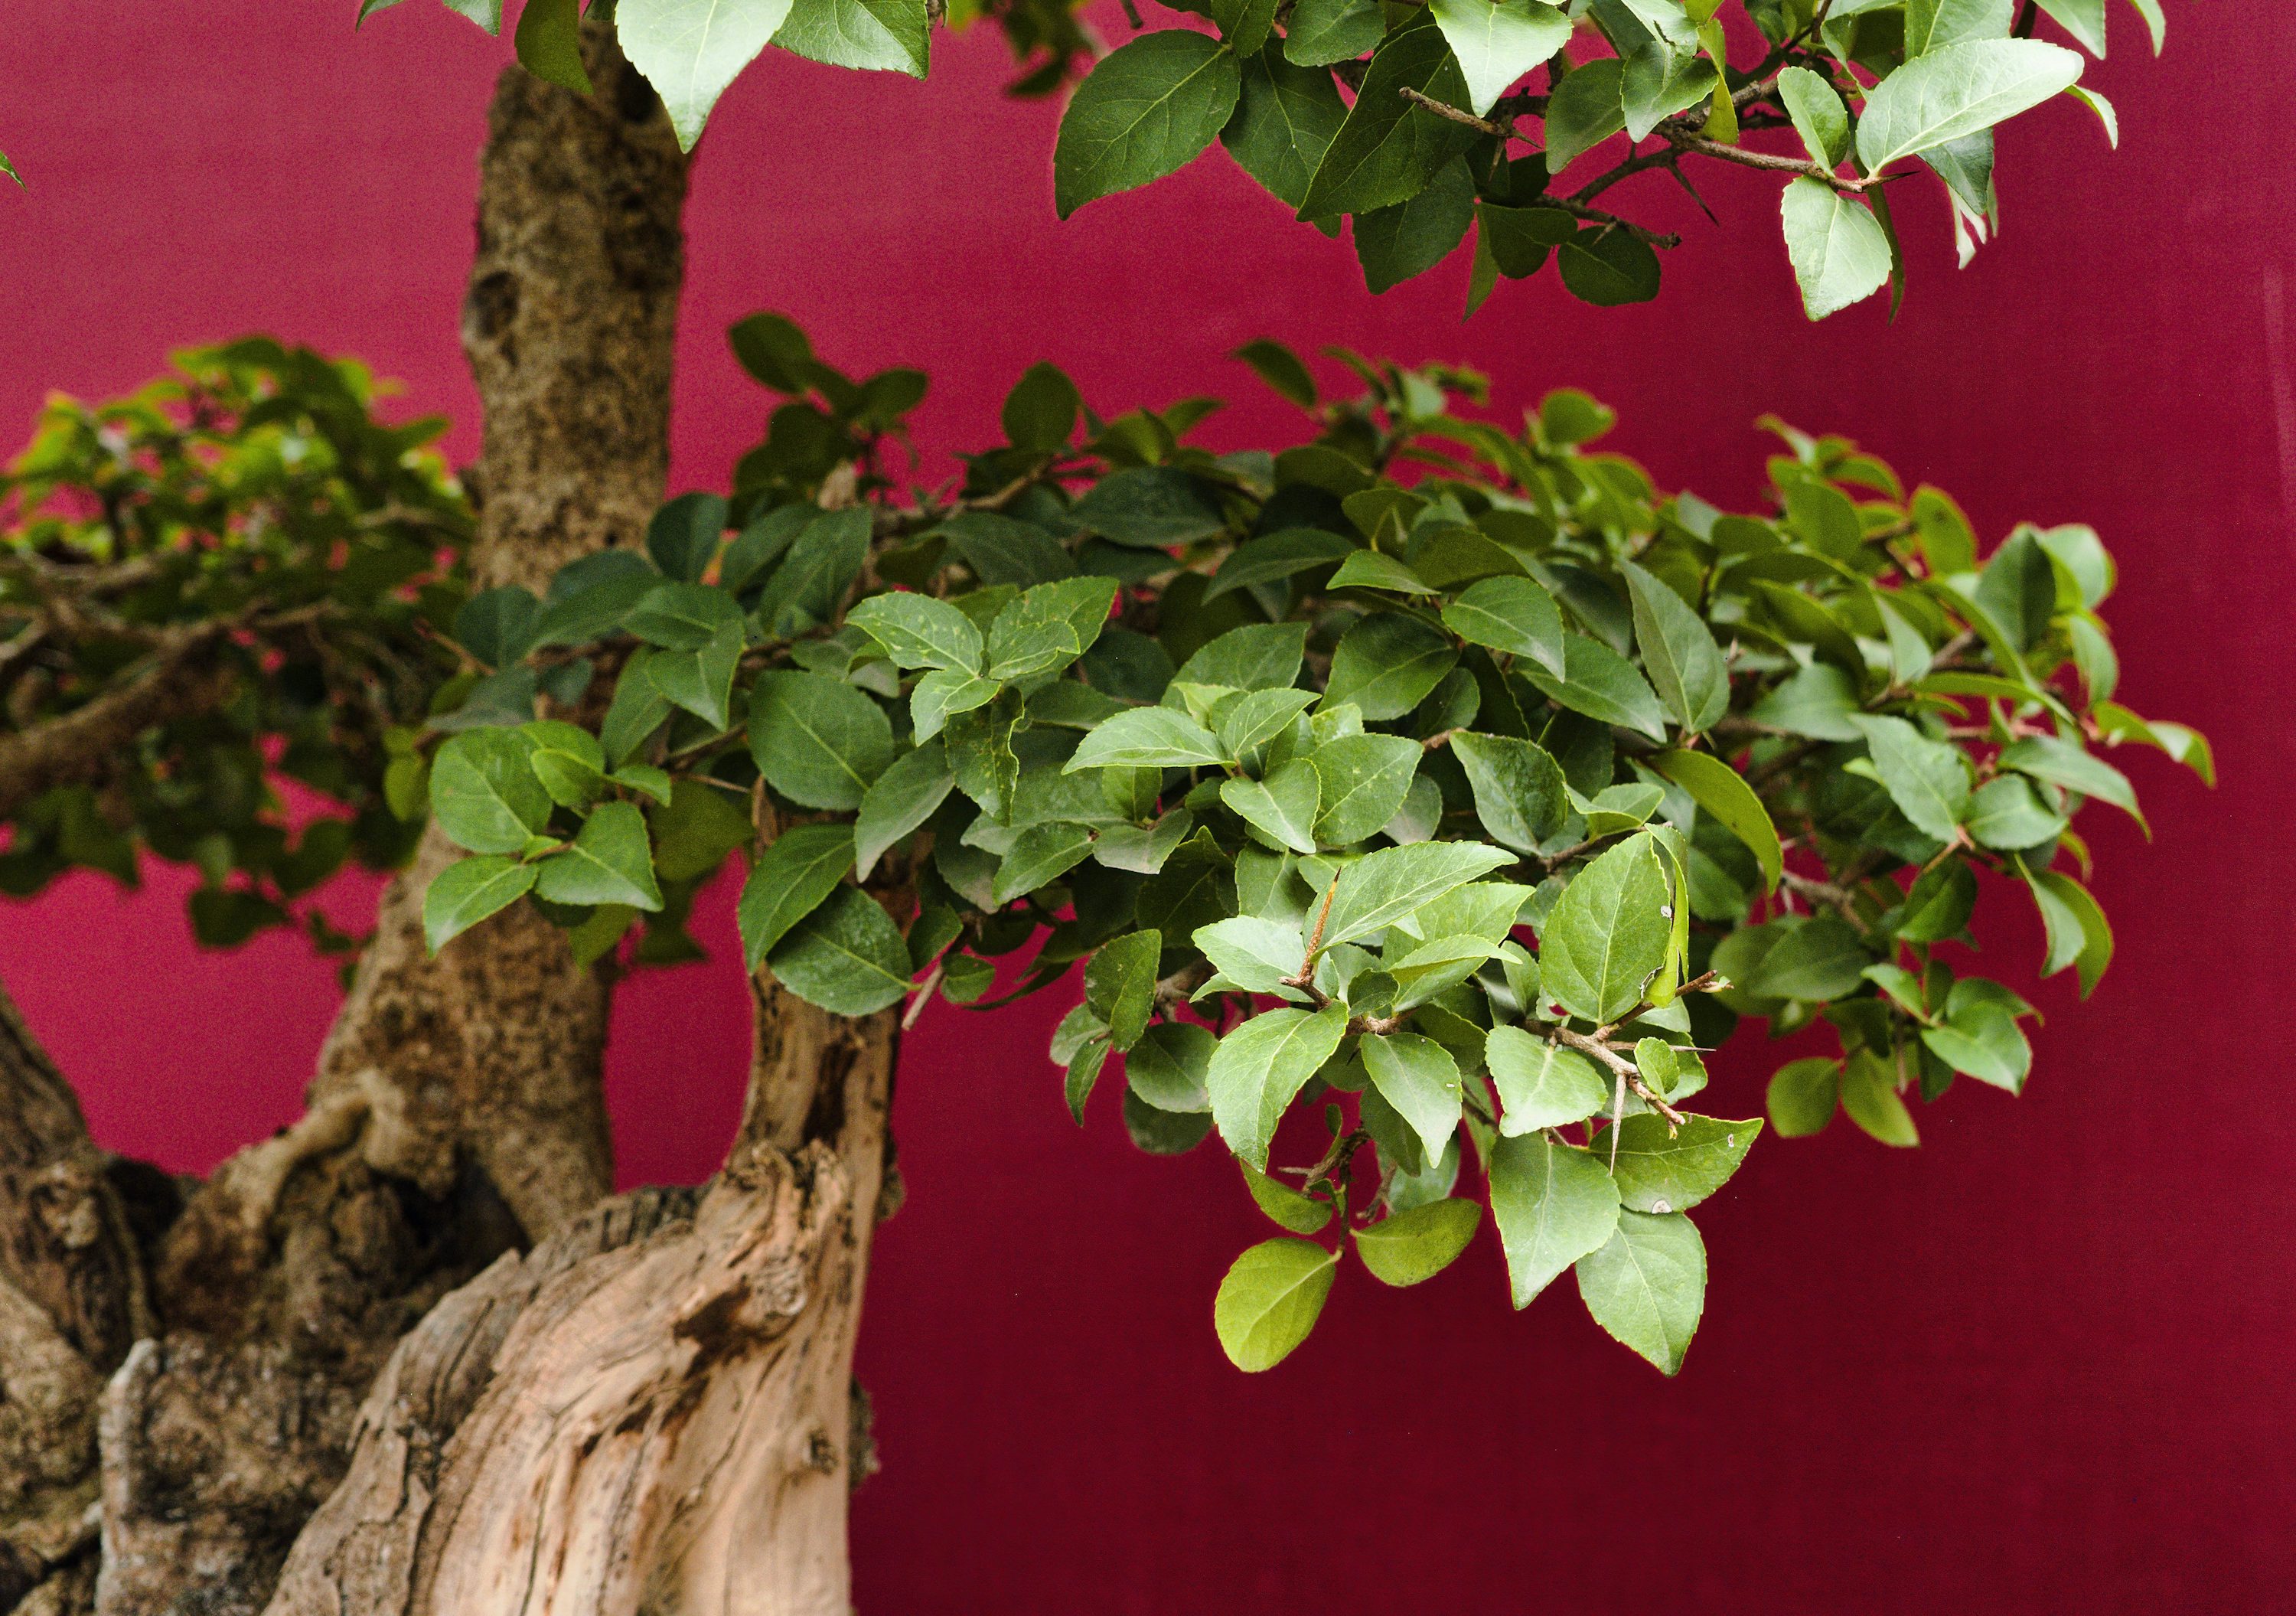
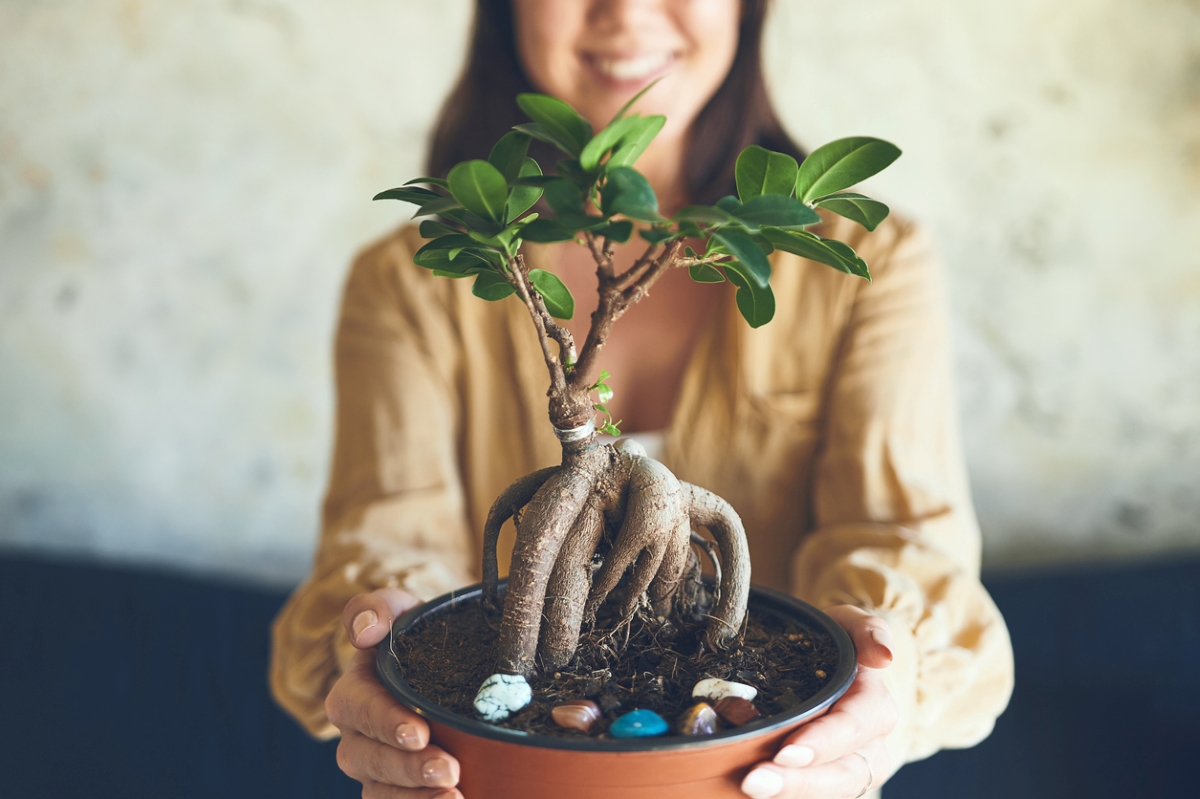
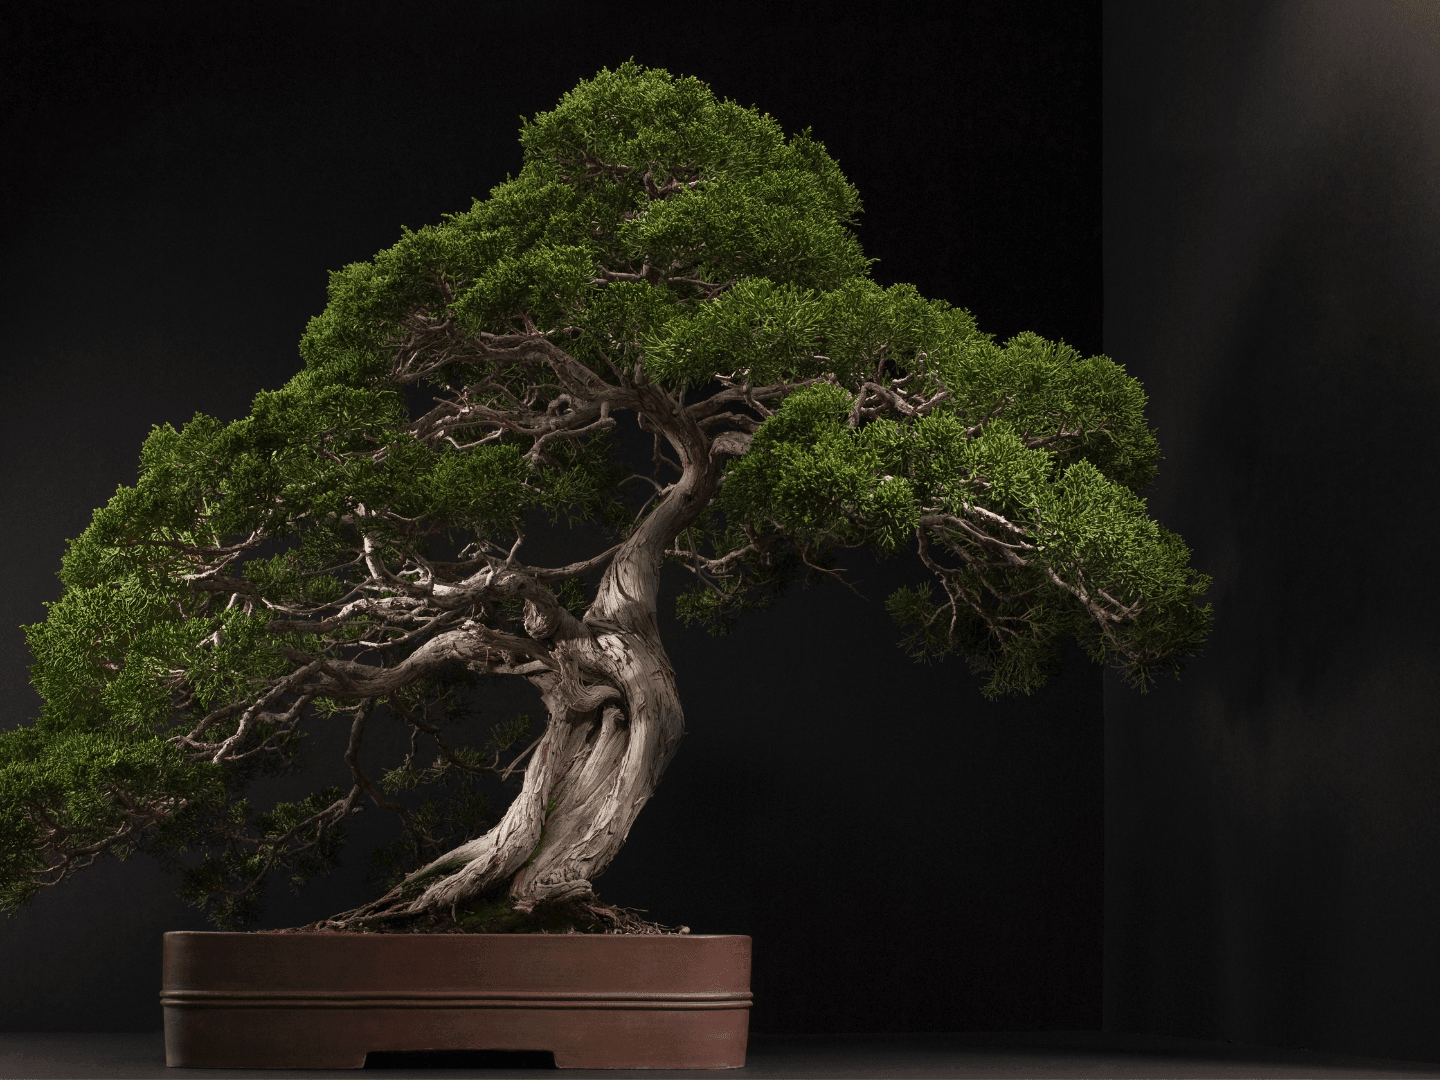
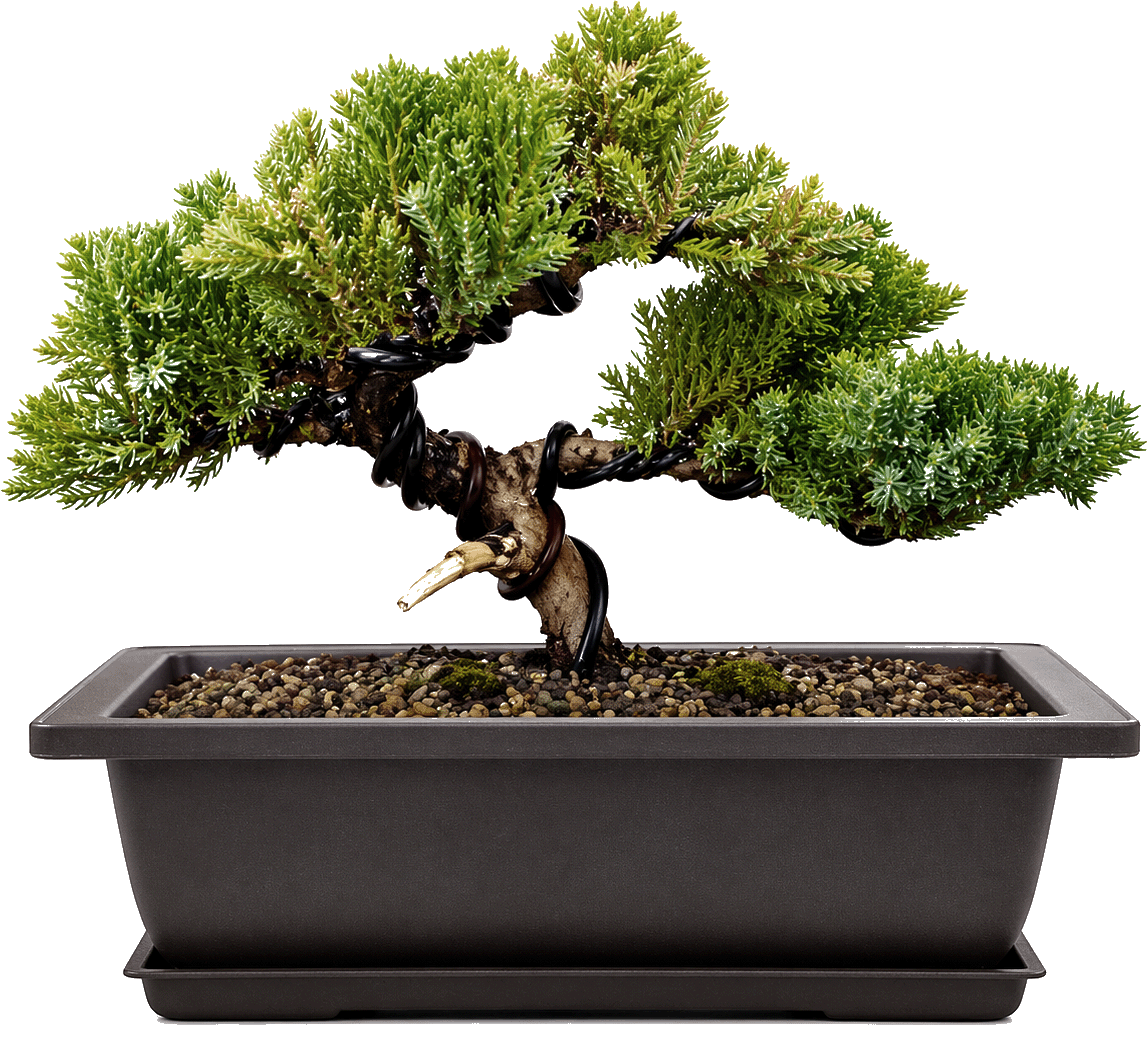
Three species consistently stand out for their durability and ease of care: the Ficus, the Jade, and the Japanese Elm. Each offers distinct aesthetic qualities but shares a common trait—they are tough, adaptable, and tolerant of the learning curve inherent in early training.
Compare beginner species
The table below breaks down the core care requirements for the top three beginner-friendly options. Use this to match a tree to your specific environment and attention span.
| Species | Light Needs | Watering Frequency | Beginner Friendliness |
|---|---|---|---|
| Ficus | Bright indoor light | Keep soil slightly moist | Very High |
| Jade (Crassula ovata) | Bright, indirect light | Allow soil to dry between waterings | High |
| Japanese Elm (Ulmus parvifolia) | Full sun to partial shade | Keep soil consistently moist | Moderate |
Set up the right soil and pot
The difference between a bonsai that thrives and one that rots often comes down to two things: drainage and aeration. Regular potting soil is designed to hold moisture and nutrients for standard houseplants. Bonsai soil, however, is a gritty, inorganic mix designed to let water pass through instantly while keeping the roots oxygenated. Think of it like a sponge that never stays wet—this prevents root rot, the most common killer of beginner bonsai trees.
When choosing a pot, prioritize function over form. The container must have multiple drainage holes at the bottom. Without these, excess water will pool at the base, suffocating the roots. For your first tree, a shallow, unglazed ceramic pot is ideal. It allows the soil to breathe and dry out evenly, which helps you monitor the watering schedule. Avoid decorative saucers that trap water; instead, use a simple wire mesh screen over the holes to keep the soil in place while allowing free flow.
Mix your own bonsai soil
You don't need to buy expensive pre-mixed soil. A standard, effective blend for beginners combines three components:
- Akadama: A hard-baked Japanese clay that holds shape and nutrients.
- Pumice: A volcanic rock that provides aeration and water retention.
- Lava rock: Adds drainage and stability to the root ball.
A simple 1:1:1 ratio works well for most deciduous and coniferous trees. If you can't find akadama, use more pumice and lava rock. The goal is a mix that falls apart easily when you squeeze a handful, ensuring air pockets remain between the particles.
Potting your first tree
Repotting is best done in early spring before new growth begins. Gently remove the tree from its nursery pot and tease out the roots. Trim away any thick, circling roots to encourage a finer, more fibrous root system. Place a mesh screen over the drainage holes, add a layer of soil, position the tree, and fill in around the roots. Water thoroughly until it runs clear from the bottom. This settles the soil and eliminates air pockets.
Place wire mesh over drainage holes and add a thin layer of coarse soil to prevent smaller particles from washing out.
Remove the tree from its nursery pot. Gently comb out the roots and trim any thick, circling ones to encourage healthy growth.
Place the tree in the pot, adjusting the height as needed. Fill in around the roots with your bonsai soil mix, using a chopstick to settle the soil into small gaps.
Water the tree immediately until it flows freely from the drainage holes. This settles the soil and ensures no air pockets remain around the roots.
Plant your bonsai step by step
Repotting is where your nursery tree transforms into a bonsai. This process restricts the root system to keep the tree small and healthy while giving it fresh soil and proper drainage. For bonsai for beginners, this is the most critical hands-on step. You are not just moving a plant; you are sculpting its foundation.
Follow this sequence carefully. Rushing root pruning can shock the tree, so take your time to assess the root ball before making any cuts.
Turn the nursery pot sideways and gently tap the sides to loosen the soil. Slide the tree out, holding it by the trunk near the soil line. If the roots are tightly wound in a circle, use a root rake or a chopstick to gently comb them out. This breaks the "pot-bound" cycle and encourages new growth outward rather than just downward.
Using sharp bonsai scissors, cut away the thick, vertical taproot and any long, circling roots. Aim to remove about one-third to one-half of the root mass. Focus on creating a flat, radial base. This ensures the tree sits level in the new pot and encourages fine feeder roots to develop, which are essential for nutrient uptake.
Insert anchor wires through the drainage holes of your bonsai pot if you haven't already. Position the tree at your desired angle and height. The front of the tree (the side you want to display) should face you. Secure the wires tightly around the trunk or through the root ball to prevent movement during backfilling.
Add your bonsai soil mix around the roots. Use a chopstick or a dedicated soil tool to poke the soil deep into the root gaps, eliminating air pockets. Tap the pot gently on the table to settle the soil. The soil level should be slightly below the rim of the pot to allow for watering without spillage.
Water the tree thoroughly until water runs clear from the drainage holes. This final watering helps the soil settle completely around the pruned roots. Check the stability of the tree; if it wobbles, add a bit more soil and re-tighten the anchor wires. Keep the tree in a shaded, sheltered spot for a week to recover from the shock.
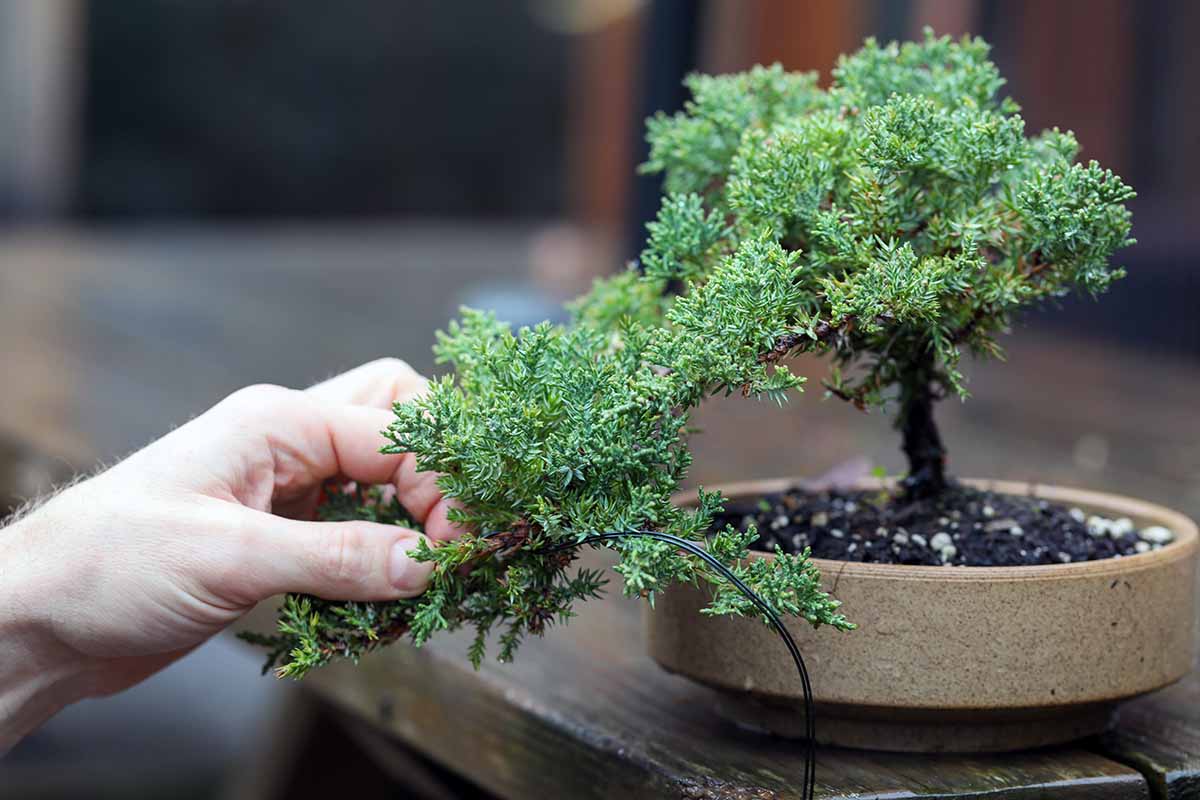
Once the tree is secured, you can begin basic wiring to shape the branches. For visual learners, this YouTube tutorial demonstrates the entire repotting process for a beginner-friendly species:
Water and light basics
Most beginners kill their first tree with kindness. Overwatering is the most common cause of death for bonsai, followed closely by placing the tree in the wrong light. These two factors are the foundation of bonsai for beginners; get them right, and the rest of the care becomes simple maintenance.
Watering: The Finger Test
Do not water on a fixed schedule. A bonsai in a small pot dries out much faster than a plant in a large garden bed, and needs change with the seasons. Instead, check the soil daily. Stick your finger about an inch into the topsoil. If it feels dry, water thoroughly until water runs freely out of the drainage holes. If it feels damp, wait.
Tip: Water only when the topsoil feels slightly dry to the touch, not on a fixed schedule.
When you do water, do it completely. Pour water evenly over the surface until it drains out the bottom. This ensures the entire root ball is hydrated and flushes out accumulated salts from tap water. Empty the drainage tray after twenty minutes so the roots don’t sit in standing water, which leads to root rot.
Light Placement
Light is the engine of photosynthesis. Without enough intensity, your bonsai will become leggy, lose its small leaves, and eventually die. Most deciduous and coniferous bonsai trees need at least six hours of direct sunlight daily. A south-facing window is ideal.
If you live in a hot climate, protect your tree from the scorching midday sun, which can bake the shallow soil dry in minutes. In winter, move your tree to the brightest spot available. If natural light is insufficient, a simple grow light placed six inches above the canopy for twelve hours a day can keep your bonsai for beginners alive during darker months.
Watch for common beginner mistakes
Even with good intentions, new bonsai for beginners often struggle with watering and light. The most frequent culprit is overwatering. Roots need oxygen just as much as they need moisture. When soil stays soggy, roots suffocate and rot, leading to yellowing leaves that drop off unexpectedly.
To prevent root rot, check the soil moisture before every watering. Insert your finger an inch into the pot; if it feels damp, wait. If it’s dry, water thoroughly until it runs out the drainage holes. Ensure your pot has adequate drainage holes and that water doesn’t sit in the saucer below.
Another common error is placing the tree in indirect indoor light. Most bonsai trees require bright, direct sunlight to photosynthesize effectively. If leaves turn pale or stretch toward a window, the tree is starving for light. Move it to the sunniest spot available, preferably outdoors during warmer months.

Insert your finger one inch into the soil. If it feels dry, water immediately. If damp, wait another day.

Ensure water flows freely out of the bottom holes. Empty any standing water from the saucer to prevent root rot.
Move the tree to the brightest window or outdoors. Most species need at least four to six hours of direct sunlight daily.
Your first bonsai care checklist
Bonsai for beginners is less about perfection and more about routine. Treat your tree like a houseplant that demands specific attention: light, water, and air circulation. Keep this list near your workspace to build a consistent habit.
Daily and Weekly Tasks
-
Check soil moisture: Stick a finger one inch into the soil. If it feels dry, water thoroughly until it runs out the drainage holes.
-
Inspect for pests: Look under leaves and along stems for spider mites, aphids, or whiteflies. Remove them with a damp cloth or neem oil spray.
-
Rotate the pot: Turn your bonsai a quarter turn every few days to ensure even growth and prevent the tree from leaning toward the light.
Bonsai for beginners: common: what to check next
New growers often overcomplicate care routines. The following answers address the most frequent stumbling blocks for those starting with bonsai for beginners.
No comments yet. Be the first to share your thoughts!