
Pick a forgiving starter tree
Choosing the right species is the first step in learning bonsai for beginners. Some trees are stubborn and unforgiving of mistakes, while others are tough, adaptable, and eager to grow. For your first tree, select a species that tolerates irregular watering and handles the learning curve.
The Dwarf Jade and Chinese Elm are the best entry points. Both are hardy, grow quickly enough to show progress, and respond well to basic training. They allow you to focus on fundamentals without the pressure of keeping a fragile exotic alive.
Compare beginner-friendly options
Use this comparison to see how these top choices stack up against another popular option, the Hawaiian Umbrella. This table highlights the practical differences in light, water, and climate needs.
| Tree Type | Light Needs | Watering Frequency | Hardiness Zone |
|---|---|---|---|
| Dwarf Jade | Bright indirect to direct | Low (let soil dry completely) | 10-12 |
| Chinese Elm | Bright indirect | Moderate (keep slightly moist) | 5-9 |
| Hawaiian Umbrella | Bright indirect | Moderate to high | 10-12 |
Dwarf Jade: The toughest beginner choice
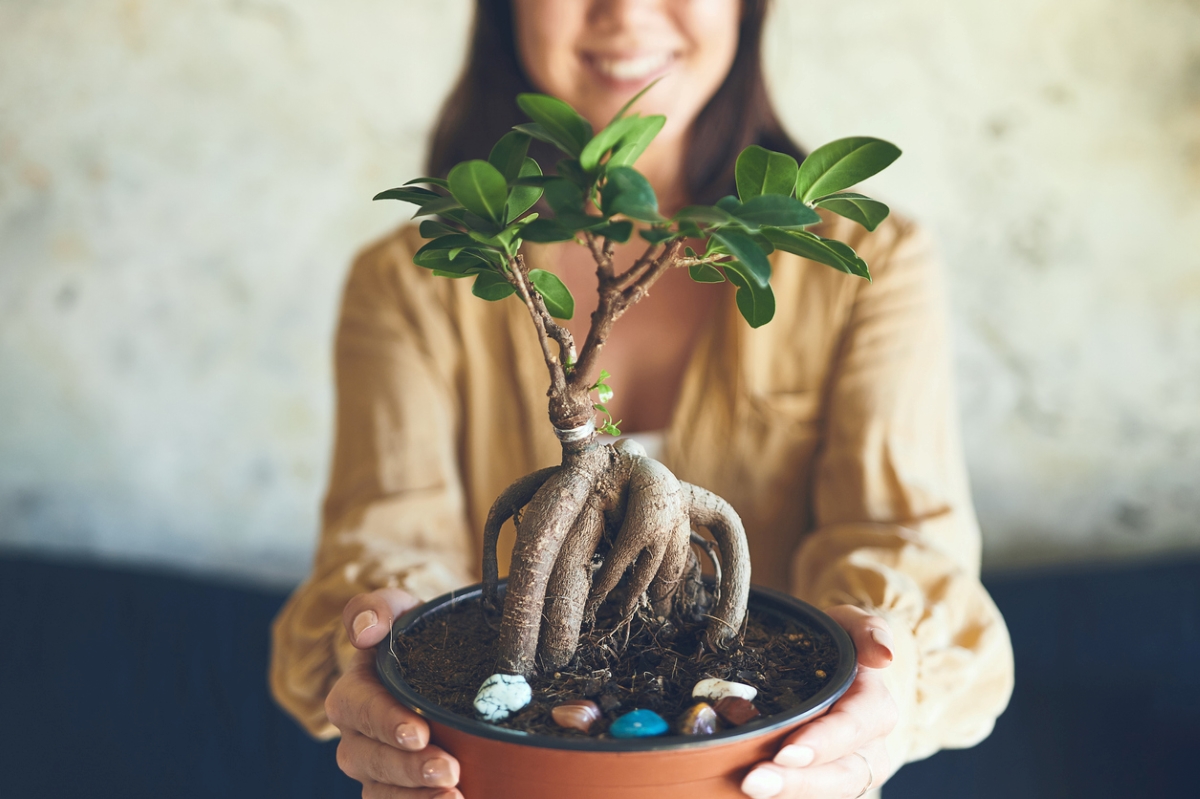
The Dwarf Jade (Portulacaria afra) is often the top recommendation for new growers. It is a succulent, meaning it stores water in its leaves and stems. This makes it incredibly forgiving if you forget to water it for a few days. It is also very predictable in its growth habits, making it easy to prune and shape.
Jade trees prefer bright light and dry soil. Overwatering is the only way to kill one, so let the soil dry out completely between waterings. They thrive in zones 10-12 but do well indoors elsewhere.
Chinese Elm: The classic look
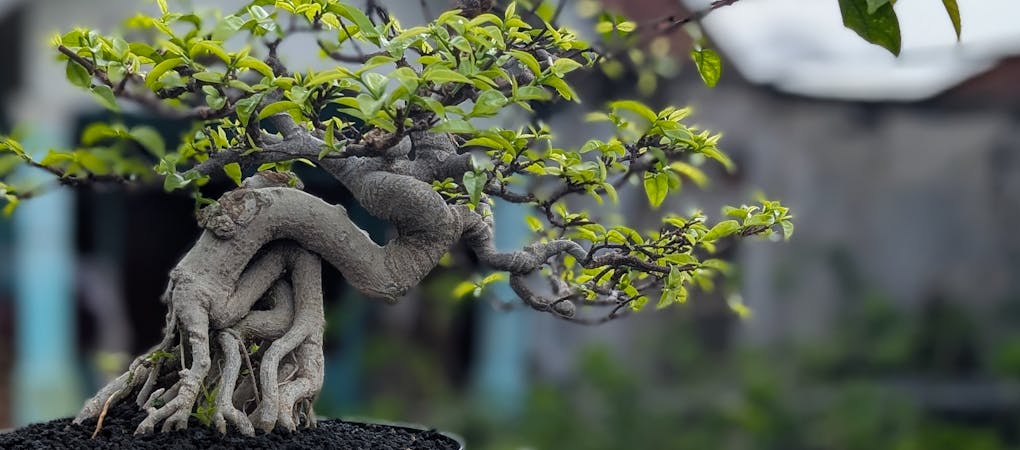
The Chinese Elm (Ulmus parvifolia) offers the traditional deciduous bonsai look with small leaves and attractive bark. It is slightly more demanding than the Jade but still very resilient. It tolerates a wider range of light conditions and is more tolerant of occasional overwatering than most deciduous trees.
Chinese Elms grow fast, which is great for beginners who want to see results. They need consistent moisture but not soggy soil. They are hardy outdoors in zones 5-9 and can be kept indoors in brighter spots during winter.
Set up the right soil and pot
Standard garden soil is the fastest way to kill a new bonsai. It compacts into a solid block when wet, suffocating the roots and causing rot. Bonsai trees need a gritty, fast-draining mix that mimics the rocky crevices of nature. For beginners, a blend of akadama, pumice, and organic matter provides the perfect balance of aeration and moisture retention.
The container is just as important as the soil. You need a shallow pot with adequate drainage holes. Shallow pots restrict root growth, which keeps the tree small and manageable. They also dry out faster, making it easier to monitor water levels and avoid the common beginner mistake of overwatering.
Select a shallow, unglazed pot with drainage holes. Ensure the pot is large enough to hold the root ball but not so large that it holds excess water. A good rule of thumb is that the pot’s width should be about two-thirds the height of the tree.
Mix 50% akadama, 30% pumice, and 20% organic compost or peat moss. Akadama provides structure and nutrients, pumice ensures drainage, and the organic component helps retain moisture. Avoid using standard potting soil or garden dirt, which will compact and choke the roots.
Place a mesh screen over the drainage holes to prevent soil loss. Add a thin layer of your soil mix, position the tree, and fill in around the roots with the remaining mix. Gently tap the pot to settle the soil and eliminate air pockets. Water thoroughly until it runs clear from the bottom.
Plant the tree in three steps
Repotting is the moment your bonsai for beginners journey truly begins. You are moving the tree from a nursery container into a shallow bonsai pot, which requires careful handling of the roots.
Step 1: Remove tree from nursery pot
Start by watering the tree lightly an hour before you begin. This helps the root ball hold together, making it easier to remove from the nursery pot. Turn the container on its side and gently tap the bottom while supporting the trunk. If the roots are tightly wound around the edges, use your fingers to loosen them slightly before pulling the tree out. Do not pull by the trunk, as this can snap the delicate connection between root and branch.
Turn the nursery pot sideways and tap the base to release the root ball. Support the trunk firmly with one hand while loosening the soil around the edges with the other. The goal is to remove the tree intact without breaking the main roots.
Gently tease out the bottom third of the root ball using a root rake or a chopstick. Remove any dead or mushy roots. Trim back long, thick roots by about one-third to encourage new, fine feeder roots. Avoid cutting major structural roots; focus on the finer network that absorbs water.
Place a layer of fresh bonsai soil in the new pot. Position the tree over the drainage holes, using anchor wires if necessary to keep it stable. Fill in the sides with soil, using a chopstick to poke the soil deep into the root gaps. Tap the pot on the table to settle the soil and eliminate air pockets.
Step 2: Gently tease out and trim roots
Once the tree is out, inspect the root ball. Nursery pots often cause roots to spiral tightly around the bottom, which can strangle the tree over time. Use a chopstick or a specialized root rake to gently comb out these spirals. You are looking for the fine, hair-like feeder roots that absorb nutrients. Remove any thick, woody roots that have grown too long or appear dead. Trim no more than one-third of the root mass to avoid stressing the tree.
Step 3: Place in bonsai pot with wire and fill with soil
Prepare your bonsai pot by placing a mesh screen over the drainage holes and securing it with wire. Add a thin layer of fresh bonsai soil to the bottom. Position the tree so it sits at the correct depth and angle. Use the anchor wires to secure the tree in place. Fill the pot with soil, using a chopstick to carefully work the soil into the spaces between the roots. This prevents air pockets that can dry out the roots. Water the tree thoroughly until it runs clear from the bottom, then place it in a shaded, sheltered spot for a few weeks to recover.
Water and light basics
Watering and lighting are the two pillars of bonsai care, yet they are also where most beginners stumble. The goal is not to keep the soil constantly wet, but to maintain a cycle of hydration and oxygen. A bonsai tree in a small pot dries out faster than one in the ground, but it also suffocates easily if the soil stays saturated.
The watering technique
The best way to check if your bonsai needs water is the finger test. Stick your finger about an inch into the soil. If it feels dry, it is time to water. If it is damp, wait. When you do water, do not just sprinkle the surface. Water thoroughly until you see water running freely out of the drainage holes at the bottom of the pot.
This soak ensures the entire root ball is hydrated. If water runs out the sides immediately without soaking in, the soil may have dried out completely and become hydrophobic. In that case, let the pot sit in a basin of water for a few minutes to rehydrate the soil before returning it to its display spot.
Light requirements
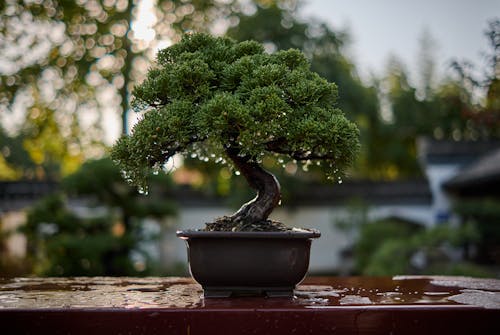
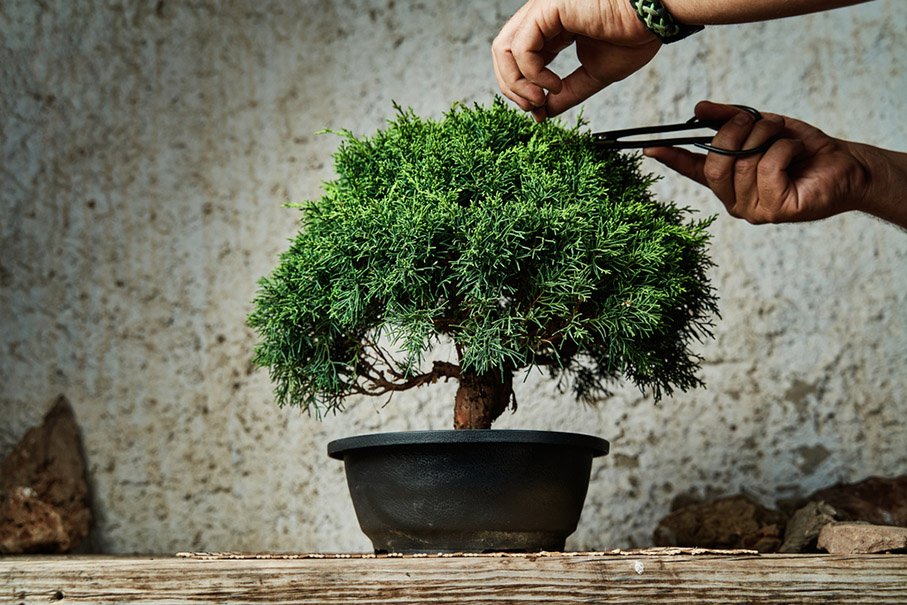
Light is the engine of photosynthesis. Most common bonsai species, such as Ficus, Juniper, and Jade, require bright, direct light. Place your tree near a south-facing window or outdoors in a sunny spot. If the leaves begin to stretch or turn pale, the tree is not getting enough light and needs to move closer to a light source.
Stick your finger an inch into the soil. If it feels dry to the touch, proceed to water.
Water slowly and evenly until you see water flowing out of the drainage holes at the bottom.
Let the pot drain completely. Never leave a bonsai sitting in a saucer of standing water.
Avoiding common mistakes
The most common mistake beginners make is overwatering. It is easy to think that more water equals a happier tree, but roots need air as much as they need moisture. Constantly wet soil leads to root rot, which can kill the tree quickly. Underwatering is also harmful, causing leaves to dry and drop off, but it is generally easier to recover from than rot.
Another frequent error is placing the tree in low light. Bonsai are living trees, not decorative stones. They need consistent, bright light to produce the energy required for growth. If you cannot provide enough natural light, consider a grow light, but natural sunlight is always the best choice for a healthy bonsai for beginners.
Avoid the top beginner mistakes
Even with the best bonsai for beginners kits, two errors will stress your tree faster than anything else: overwatering and low light. Beginners often treat bonsai like houseplants, keeping the soil soggy or tucking the pot into a dark corner. Both habits choke the roots and starve the leaves.
Fix overwatering
Roots need air as much as they need water. When soil stays wet, oxygen disappears and root rot sets in. Check moisture by pushing your finger an inch into the soil; if it feels damp, wait. Water only when the top layer feels dry to the touch.
Fix low light
Bonsai trees are sun-lovers. A dim corner might look peaceful, but it stops photosynthesis and causes weak, leggy growth. Move your tree to the brightest window possible, ideally one that faces south or west. If natural light is scarce, add a simple grow light for six to eight hours a day.
Recover stressed trees
If your tree is already struggling, stop fertilizing and repot it into fresh, well-draining soil. Trim away any black, mushy roots and let the remaining roots dry out slightly before watering again. Give it time to recover in bright, indirect light.
Push your finger one inch into the soil. If it feels damp, wait a day before watering again.
Move the tree to the brightest window available. Use a grow light if natural light is insufficient.
If roots are rotting, repot into fresh soil and trim damaged roots. Stop fertilizing until new growth appears.
Your first bonsai care checklist
Before planting your first bonsai, gather these essentials. Having the right tools on hand makes the initial setup smoother and helps you avoid common beginner mistakes like overwatering or using the wrong soil.
- Bonsai pot: Choose a shallow container with drainage holes to prevent root rot.
- Well-draining soil: Standard potting dirt holds too much moisture; use an akadama or pumice mix.
- Bonsai wire: Aluminum or copper wire is needed to shape branches as your tree grows.
- Concave cutter: This tool makes clean pruning cuts that heal properly without leaving bumps.
- Spray bottle: Misting helps maintain humidity, especially for tropical species indoors.
- Sunny windowsill: Most bonsai need at least six hours of direct sunlight daily.
Common questions for new growers
Starting a hobby with living trees can feel intimidating, but the learning curve is gentler than most people expect. The primary challenge isn't technical complexity; it is simply remembering that you are caring for a living organism that changes with the seasons.
Is bonsai a difficult hobby?
It is not very hard at all, provided you understand the basics. The most important thing to remember is that your bonsai is a living tree that grows and changes. It requires regular interaction with you, such as watering and pruning, but you don't need advanced skills to start.
What is the one mistake all bonsai beginners make?
The number one error is getting the watering balance wrong. Overwatering leads to root rot, which kills the tree quickly. Underwatering leaves your tree weak, dry, or leafless. The best approach is to check the soil surface daily and water only when it feels slightly dry to the touch.
No comments yet. Be the first to share your thoughts!