
Pick a forgiving species first
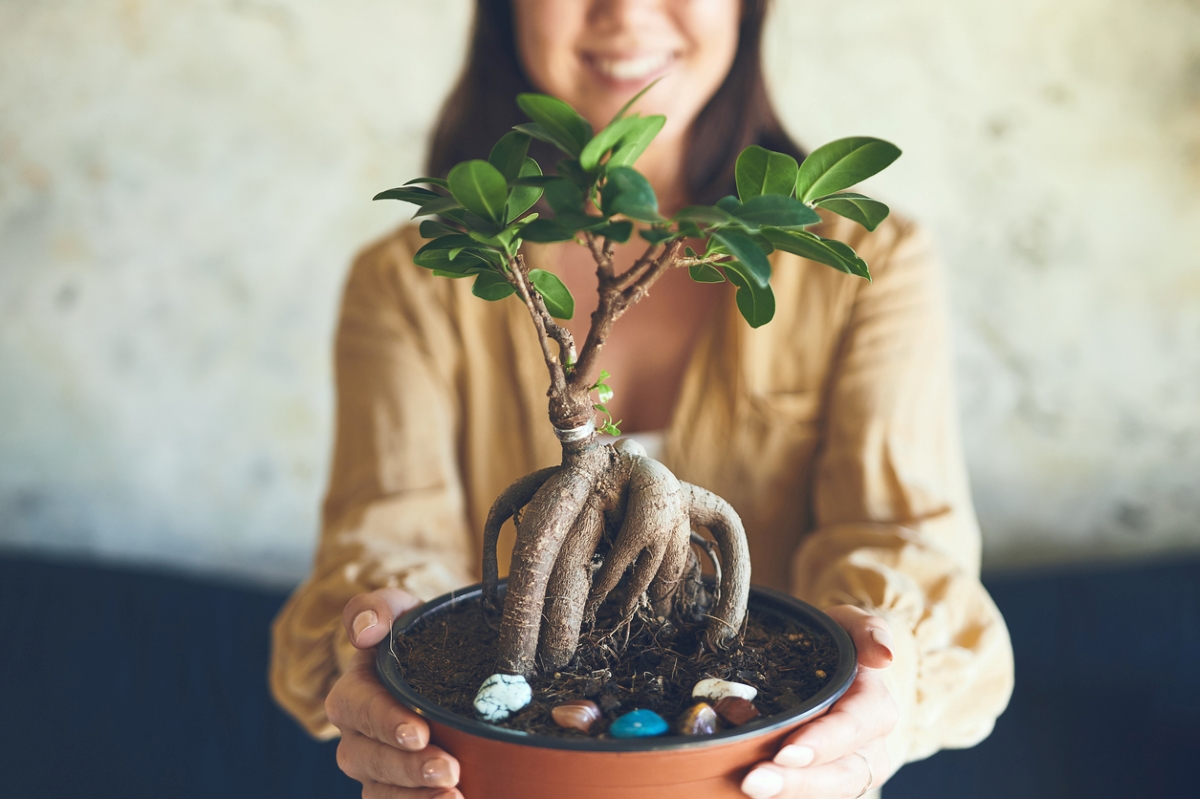
Choosing the right tree is the single most important decision for bonsai for beginners. Start with species that tolerate mistakes and adapt to indoor environments. Avoid temperate trees that require distinct seasonal changes or delicate tropicals that drop leaves at the slightest stress.
Ficus, Jade, and Chinese Elm are the most reliable options. They grow quickly, forgive irregular watering, and respond well to basic pruning. These trees let you focus on learning technique rather than fighting for survival.
Compare beginner-friendly options
Use this table to match a species to your home environment. Light and water needs vary significantly between these three common choices.
| Species | Light Needs | Watering | Best For |
|---|---|---|---|
| Ficus | Bright indirect | Keep moist, not soggy | Low-light apartments |
| Jade (Crassula) | Bright direct | Allow soil to dry | Sunny windowsills |
| Chinese Elm | Bright indirect | Moderate, consistent | Indoor/outdoor mix |
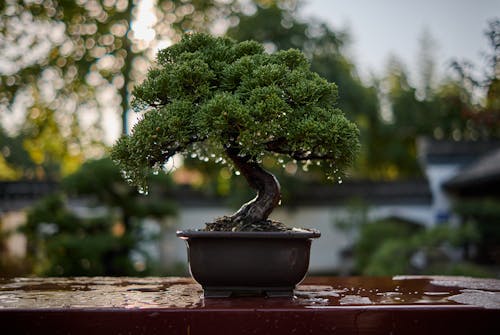
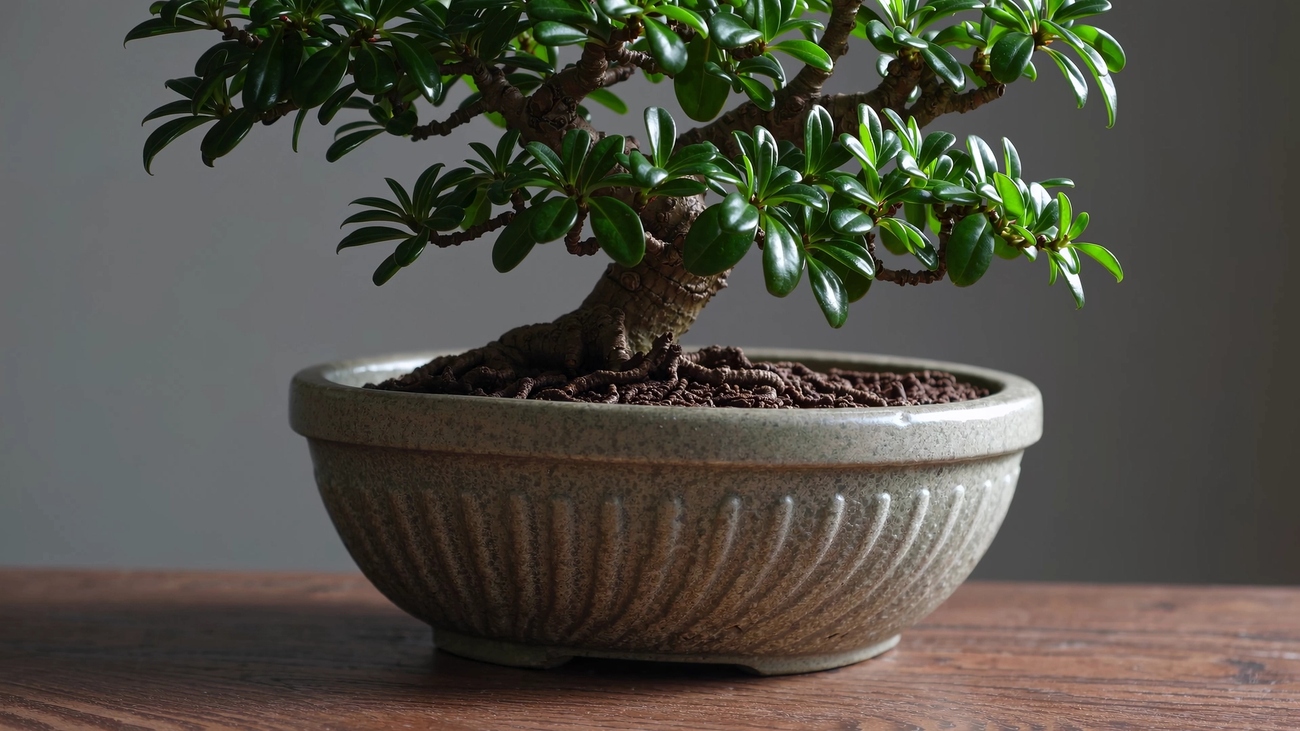
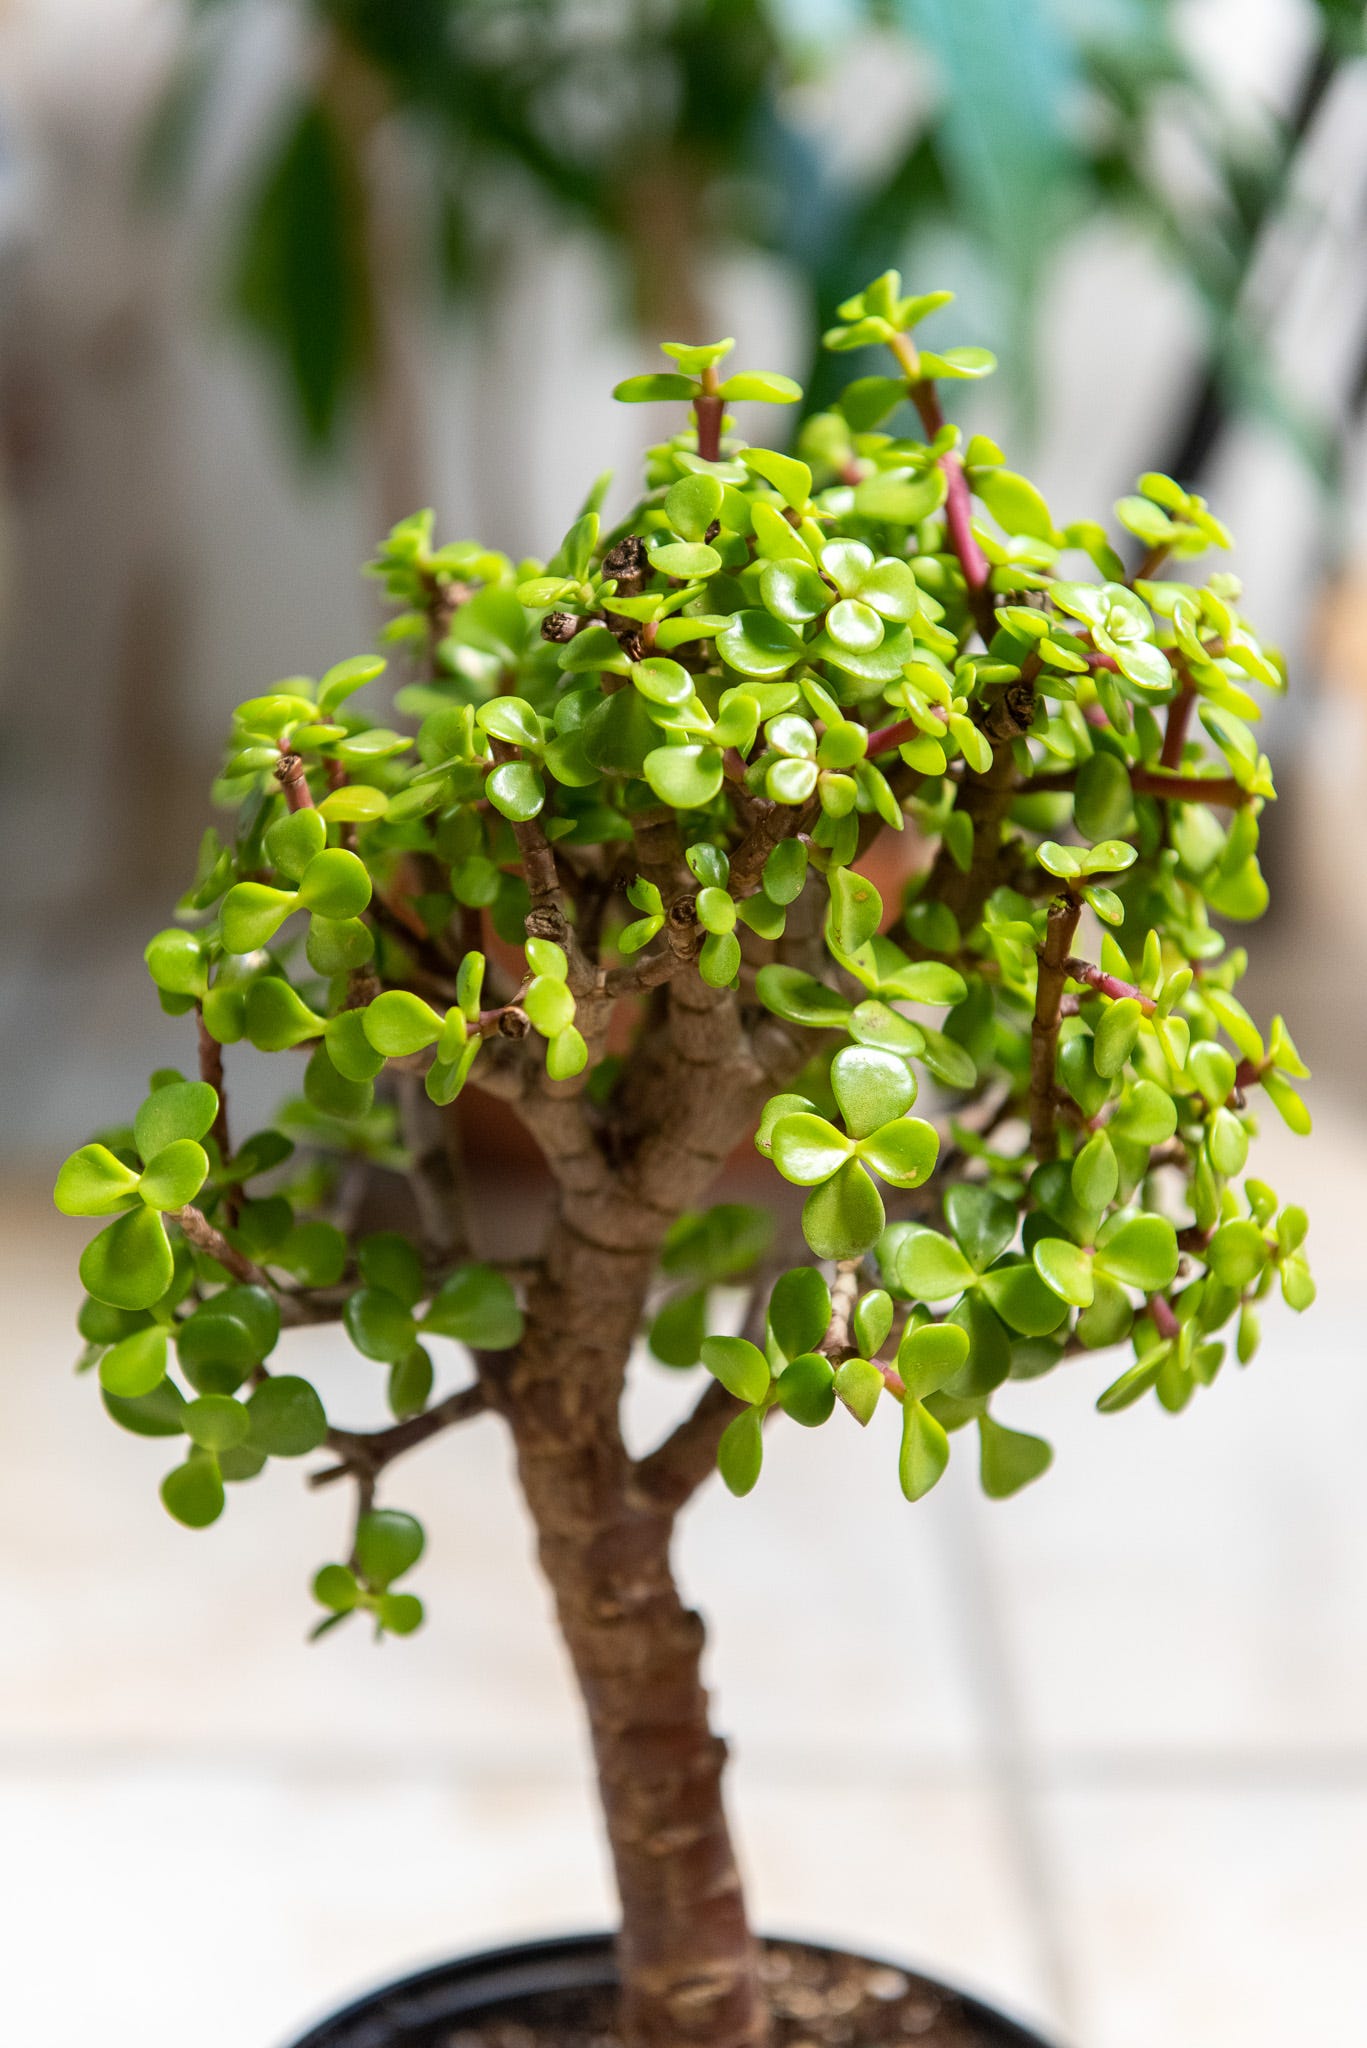
Ficus is the most forgiving. It thrives in low light and tolerates dry air. Look for Ficus retusa or Ficus microcarpa, which are widely available and resilient. Jade is a succulent that stores water in its leaves, making it ideal for forgetful waterers. It needs bright light and dry soil. Chinese Elm is a temperate tree that adapts well indoors but prefers cooler nights. It is slightly less forgiving than Ficus but offers classic bonsai aesthetics.
Inspect the tree before buying
Bonsai for beginners often fails before it starts because of a rushed purchase. Nursery stock looks perfect on the shelf, but that doesn't mean it’s healthy. You need to spot the subtle signs of stress or disease before you hand over your money.
Think of this inspection like a pre-purchase car check. You aren't just looking at the paint; you're checking the engine, the tires, and the frame. A healthy bonsai is a living system, not a decoration. If any part of that system is compromised, the tree will struggle to survive in your home.
Here is the exact sequence to follow when evaluating a tree:
Look at the leaves or needles. They should be a vibrant, consistent color. Avoid trees with yellowing, brown spots, or significant leaf drop. If the foliage looks sparse or thin, the tree may be struggling with light or water issues that are hard to fix.
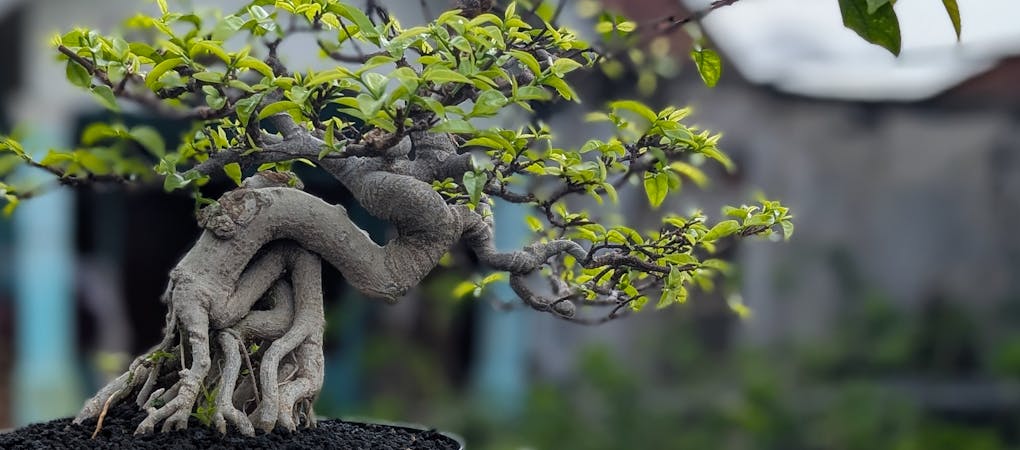
Examine the base of the trunk and the visible roots (nebari). The bark should be intact without large cracks, holes, or soft spots. Soft bark often indicates rot or pest damage. The roots should look firm and healthy, not mushy or blackened.
Turn the tree over and look under the leaves. Check for webbing, sticky residue, or tiny moving insects. Also, inspect the branches for signs of scale or mealybugs. A quick spray of water can help dislodge hidden pests, but if you see them now, leave the tree behind.
Taking five minutes to inspect your bonsai for beginners carefully can save you months of frustration. If the tree looks perfect but the roots are dead, it’s a ticking time bomb. Prioritize health over style when you’re just starting out.
Repot into proper soil mix
The soil you choose for your first bonsai does more than hold the tree in place; it dictates the health of the root system. Most nursery-grown bonsai arrive in cheap, water-retentive potting mixes that suffocate roots over time. For bonsai for beginners, the goal is to replace that dense material with a gritty, free-draining blend that mimics the shallow, rocky soils of mountain environments.
A standard mix usually consists of equal parts akadama, pumice, and lava rock. Akadama provides structure and nutrients, while pumice and lava rock ensure oxygen reaches the roots. If you cannot find akadama, a mix of 50% pumice and 50% lava rock is an excellent alternative. Avoid standard garden soil or peat-heavy houseplant mixes at all costs, as they compact quickly and lead to root rot.
When you repot, gently remove the tree from its current pot and comb out the old soil from the bottom and sides of the root ball. Do not be afraid to trim away thick, woody roots that circle the pot; this encourages fine feeder roots to grow outward. Place a layer of your new mix in the bottom of the clean pot, position the tree, and fill in the gaps with more mix. Use a chopstick to poke the soil deep into the root zone, eliminating air pockets without compacting the soil too tightly.
Combine akadama, pumice, and lava rock in equal parts. If akadama is unavailable, use a 50/50 mix of pumice and lava rock. Sift the mixture to remove fine dust particles that could clog drainage holes.
Gently tap the pot to loosen the tree. Use a root hook or chopstick to comb out the old soil, focusing on the bottom half of the root ball. Trim any thick, circling roots to encourage outward growth.
Place a mesh screen over the drainage holes to keep soil in. Add a thin layer of fresh mix to the bottom. Position the tree, adjusting the height so the nebari (surface roots) sits slightly above the rim. Secure the tree with wire if necessary.
Fill the pot with your new gritty mix. Use a chopstick to poke the soil deep into the root zone, ensuring there are no air pockets. Water thoroughly until water runs clear from the bottom to settle the soil.
The first few weeks after repotting are critical. Keep the tree in a shaded, sheltered spot to reduce stress on the compromised roots. Water only when the surface of the soil feels dry to the touch, as the new mix drains much faster than the old nursery soil. With patience and the right soil structure, your bonsai will establish strong, healthy roots that support years of growth.
Water only when the soil dries
Overwatering is the number one reason beginner bonsai die. It suffocates the roots, leading to root rot and a slow decline that is hard to reverse. The soil in a bonsai pot is shallow and drains quickly, but it also holds moisture. Your goal is to water only when the tree actually needs it, not on a fixed calendar schedule.
The finger test
Before you pick up the watering can, check the soil moisture. Insert your finger about half an inch into the soil. If it feels damp or cool, wait. If it feels dry and crumbly, it is time to water. This simple check prevents you from adding water to already saturated soil.
Watering technique
When the soil is dry, water thoroughly. Pour water evenly over the surface until it flows freely out of the drainage holes at the bottom of the pot. This ensures the entire root ball is hydrated. Avoid letting the pot sit in a saucer of standing water, as this keeps the bottom of the soil soggy.
Insert your finger into the soil to check for dampness. If it feels moist, skip watering.
Pour water evenly until it drains freely from the bottom holes, ensuring the whole root ball is wet.
Remove any standing water from the saucer after watering to prevent root rot.
Style with wire and pruning
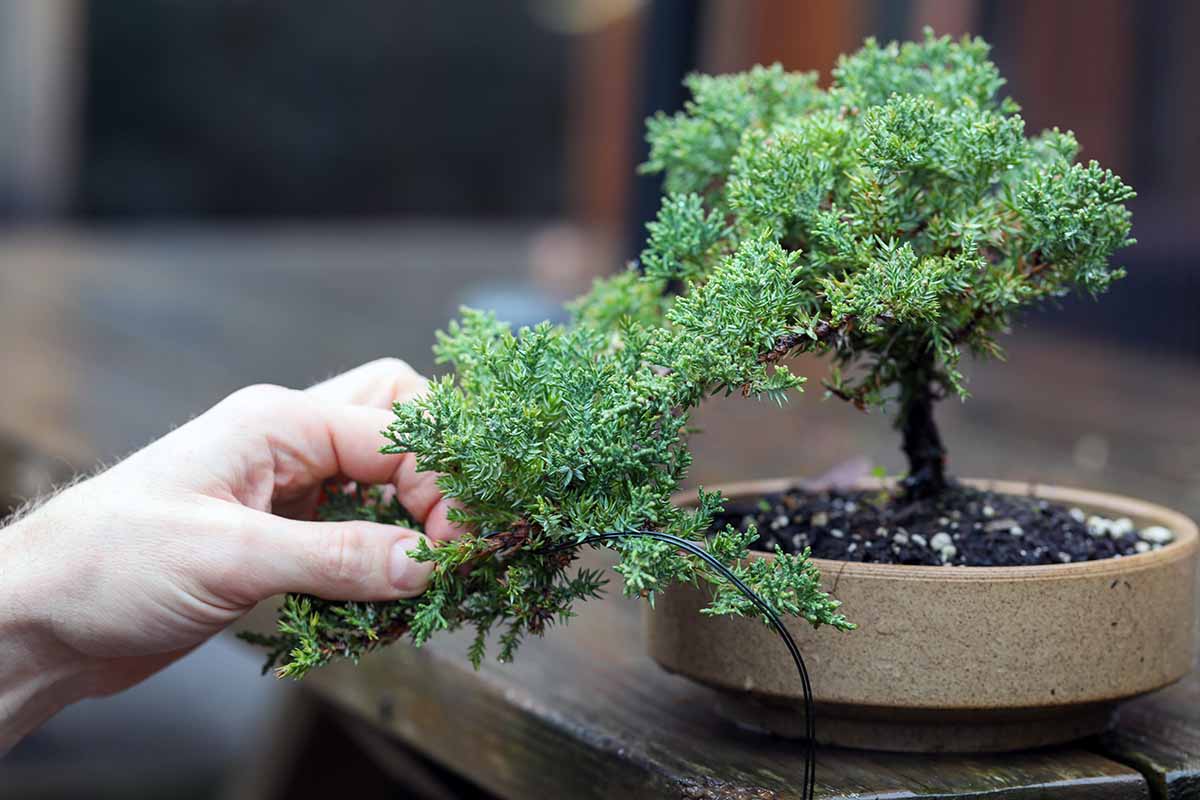
Shaping your bonsai for beginners is less about forcing a specific look and more about guiding the tree’s natural growth. The two primary tools for this are wiring and pruning. Wiring allows you to bend branches into position, while pruning removes excess growth to maintain scale and balance. The goal is minimal intervention: achieve the desired shape with the least amount of change to the tree’s health.
The process of wiring and pruning is iterative. You are not creating a static sculpture; you are curating a living organism. As your bonsai for beginners matures, the branches will thicken and the wire marks will fade, leaving behind a natural, aged appearance. Patience is the most critical tool in your kit.
Watch a quick styling demo
Visualizing the process helps clarify the techniques. Watching an expert trim wires and shape branches makes the abstract concepts concrete.
The video below demonstrates basic styling for bonsai for beginners. It covers wire placement and branch bending using a forgiving species like the Jade plant.
Checklist for your first bonsai
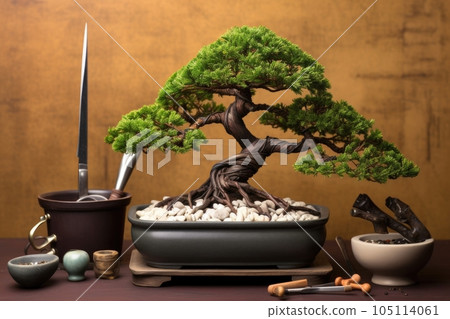
Before you buy your first tree, gather the essentials. Starting with the right tools prevents frustration and sets you up for success.
Essential Supplies
- The Tree: Choose a forgiving species like a Ficus or Jade. These tropical plants tolerate indoor conditions and make mistakes easier to recover from.
- Pot: Select a shallow bonsai pot with drainage holes. It doesn't need to be expensive; functionality matters most.
- Soil: Use a well-draining bonsai mix ( akadama, pumice, lava rock). Regular potting soil retains too much water and will suffocate the roots.
- Tools: Get basic concave cutters for pruning, wire cutters for removing training wire, and a sturdy watering can with a rose head.
Knowledge Base
- Light: Understand your tree's light needs. Most beginners start with indoor-friendly species that thrive near bright windows.
- Watering: Learn to check soil moisture daily. Bonsai soil dries out faster than regular potting soil, so consistent checking is key.
- Location: Place your tree where it receives appropriate light and protection from harsh drafts or extreme temperature swings.
Once you have these items, you are ready to begin your journey into bonsai for beginners.
No comments yet. Be the first to share your thoughts!