
Pick a forgiving beginner tree
The biggest hurdle for bonsai for beginners is choosing a species that survives the learning curve. You need a tree that tolerates mistakes like irregular watering or low light. Matching the tree to your environment is the first step to early success.
Start by deciding where the tree will live. Indoor bonsai require tropical species that thrive in stable temperatures. Outdoor bonsai need deciduous or evergreen trees that can handle seasonal changes and dormancy. Picking the wrong environment is the most common reason new trees die.
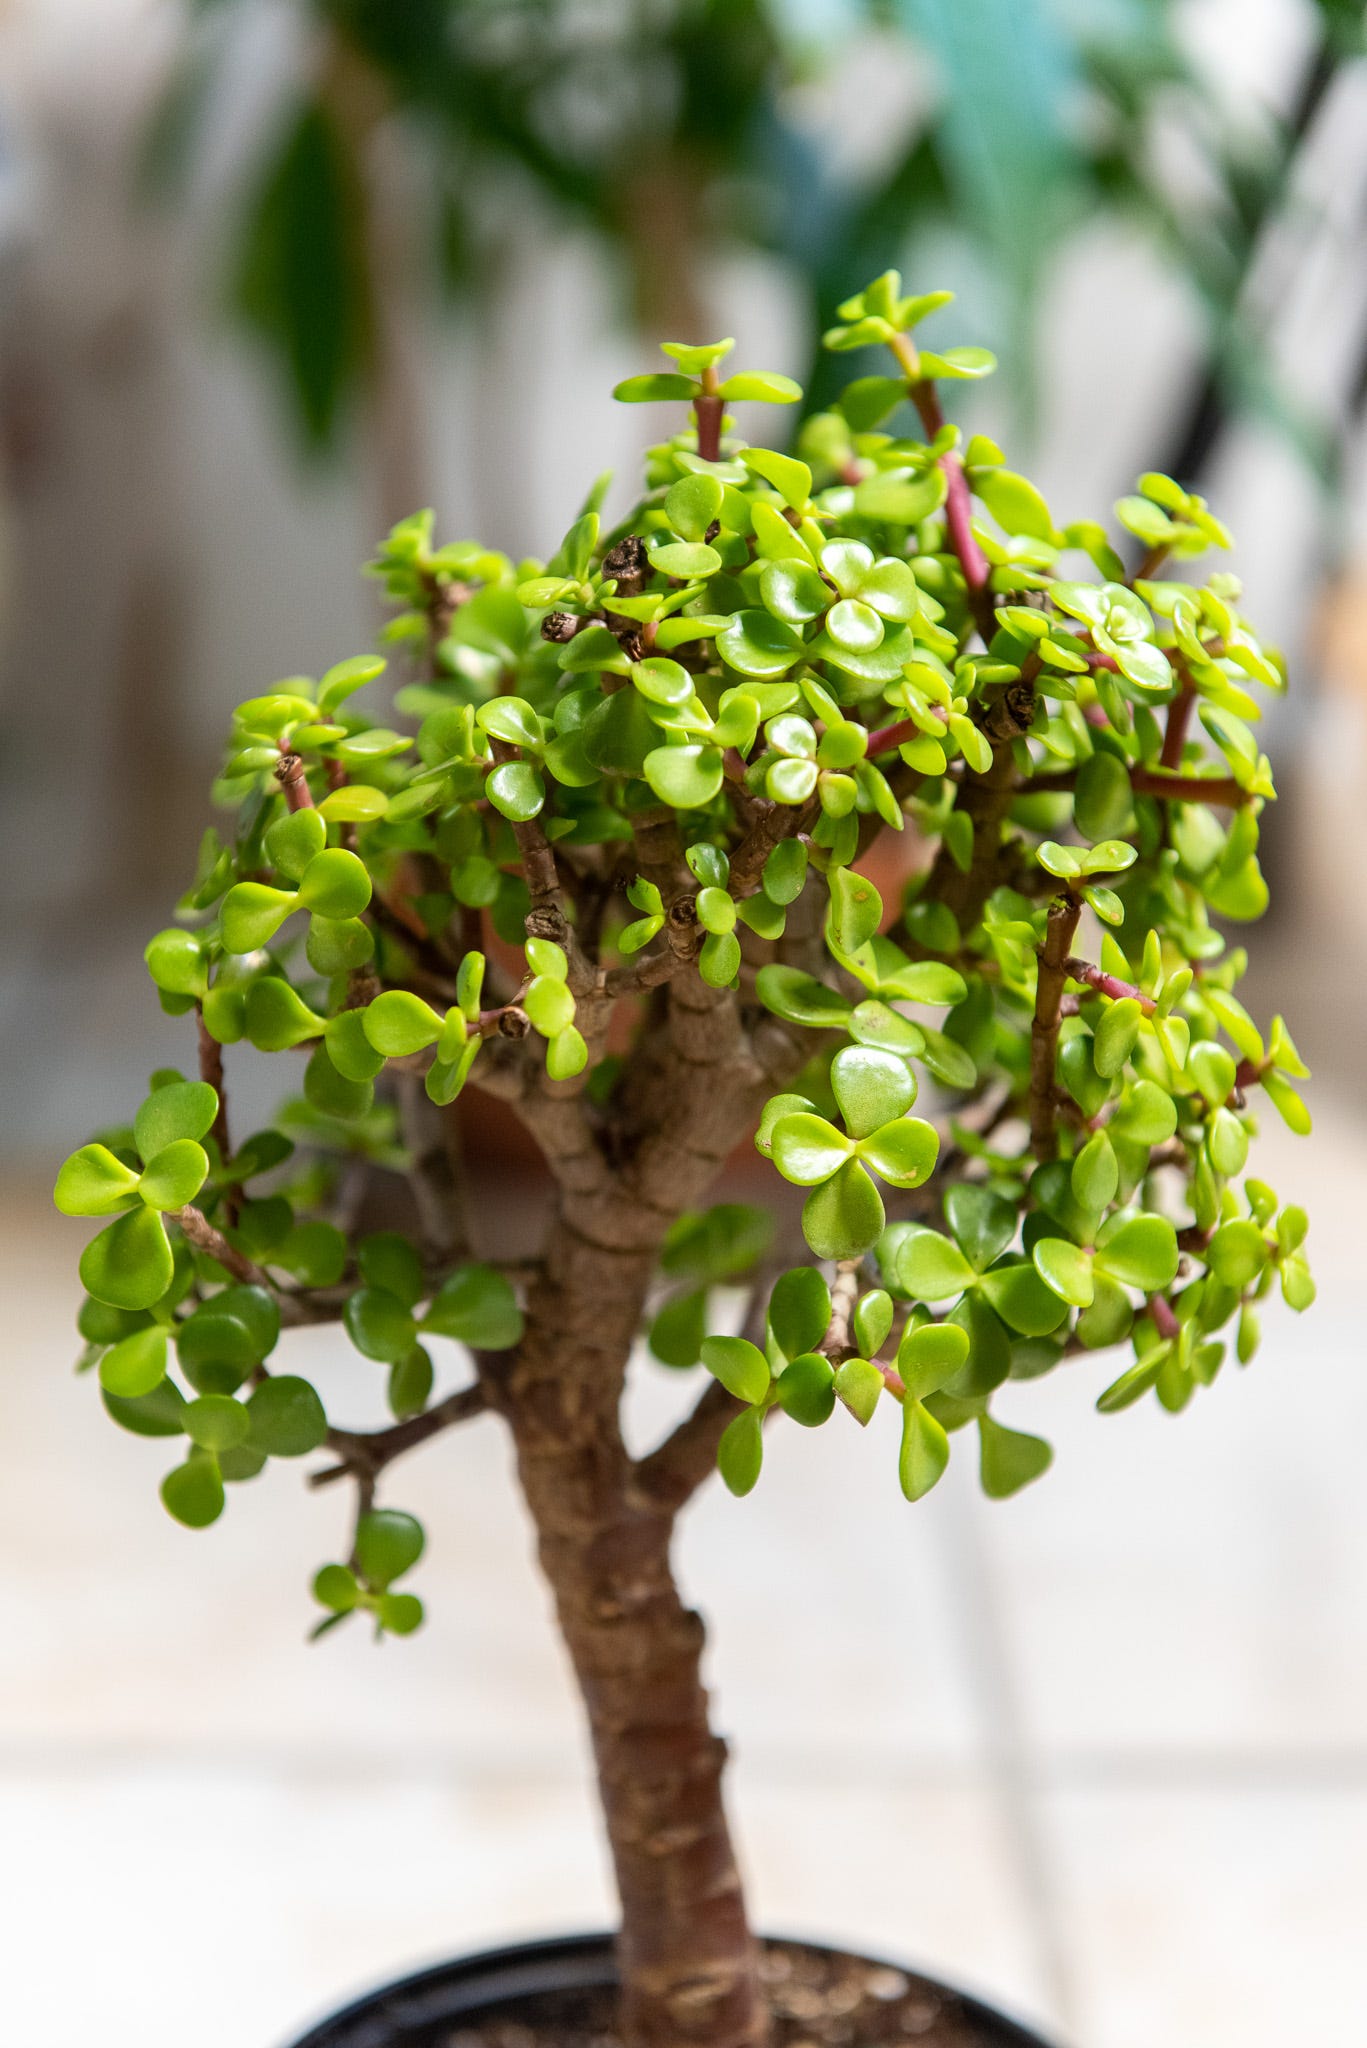
Ficus and Jade are the two most reliable options for new growers. Ficus trees are incredibly forgiving and adapt well to indoor conditions. Dwarf Jade plants are tough, predictable, and easy to train. Both species allow you to focus on shaping and wiring without worrying about keeping the tree alive.
Indoor vs. Outdoor Species
Use this comparison to find the right fit for your space. Indoor trees need warmth and indirect light, while outdoor trees need direct sun and winter dormancy.
| Species | Light Needs | Water Frequency | Hardiness Zone |
|---|---|---|---|
| Ficus retusa | Indirect indoor light | When soil is dry | Indoor (Tropical) |
| Jade (Crassula) | Bright indirect light | Every 1-2 weeks | Indoor (Tropical) |
| Juniper | Full outdoor sun | Daily in summer | 3-9 (Outdoor) |
| Japanese Maple | Morning sun, shade afternoon | Keep moist | 5-9 (Outdoor) |
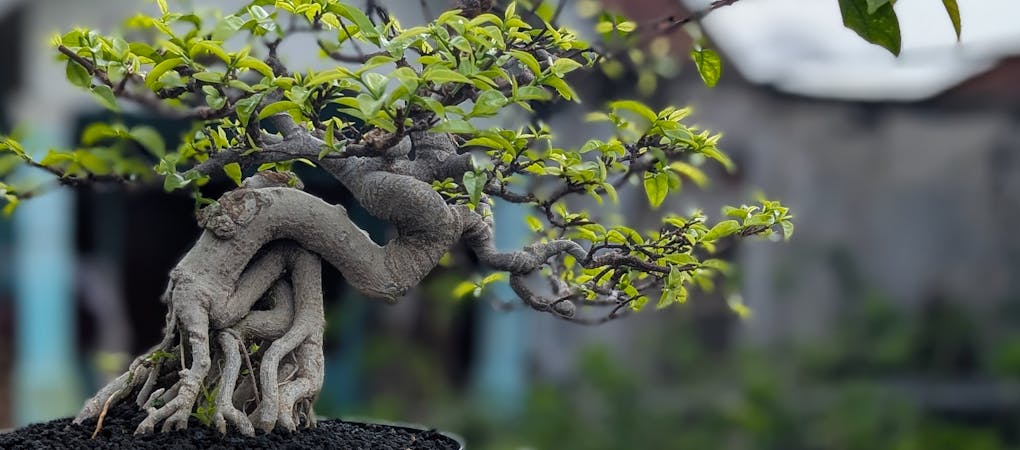
Ficus trees are often the easiest starting point because they are widely available and resilient. They tolerate lower light levels better than most other bonsai species. Jade plants are succulents that store water in their leaves, making them very hard to kill. They grow slowly, giving you time to learn proper pruning techniques.
Avoid exotic or rare species for your first tree. Stick to common varieties that have been bred for bonsai cultivation. A healthy, vigorous tree will respond better to training and help you build confidence quickly.
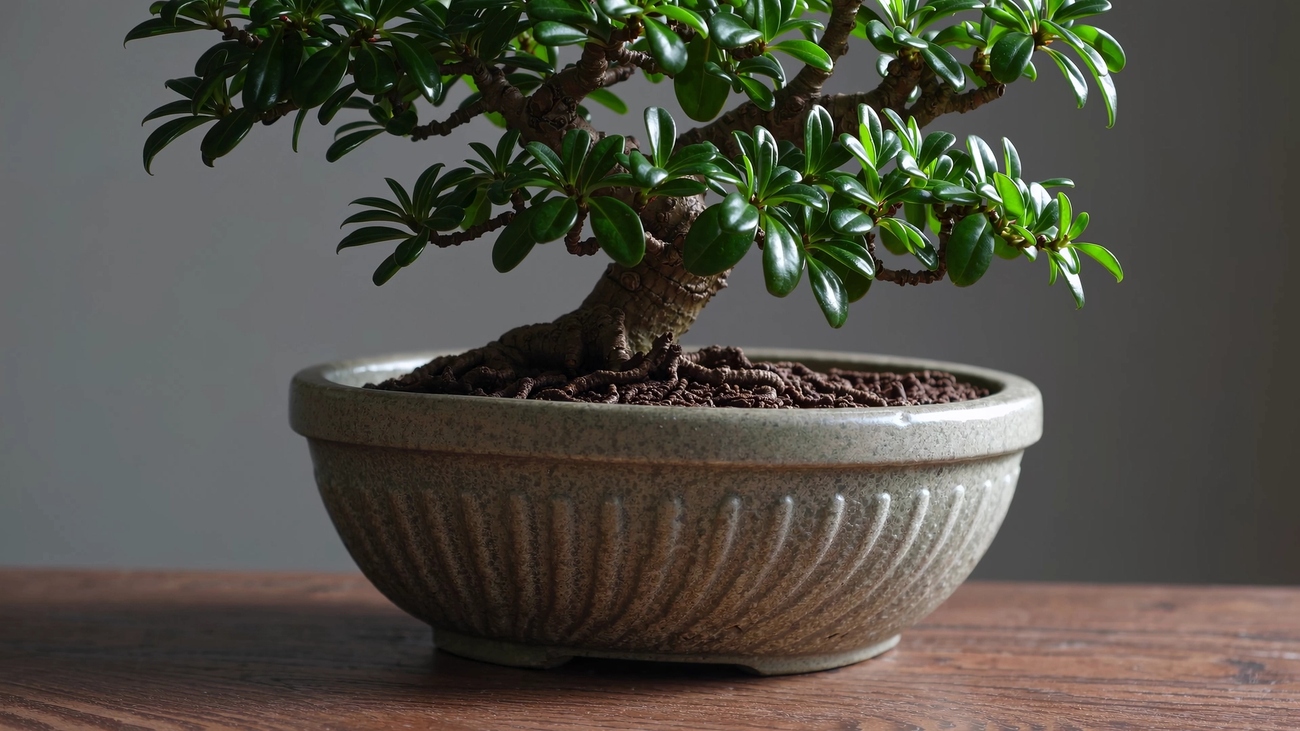
Prepare the pot and soil mix
Choosing the right pot and soil is the foundation of bonsai for beginners. A bonsai tree lives in a small container, so it cannot survive on standard garden soil. Garden soil compacts over time, suffocating the roots and causing them to rot. Instead, you need a specialized mix that drains quickly and provides plenty of air to the root system.
The ideal bonsai soil acts like a sponge that wrings itself out. It holds enough moisture for the roots to drink but releases excess water immediately. This balance prevents root rot while keeping the tree hydrated. Common ingredients include akadama, pumice, and lava rock. These materials stay loose even after years of watering, ensuring the roots always have access to oxygen.

Choose a bonsai pot with large drainage holes. The pot should be shallow to restrict root growth and maintain the tree's miniature scale. Ensure the pot has a wire hole for anchoring the tree securely.
Combine akadama, pumice, and lava rock in equal parts. This mix ensures excellent drainage and aeration. Avoid fine particles that can clog the soil structure over time.
Add a layer of coarse gravel or mesh over the drainage holes. This prevents soil from washing out while allowing water to flow freely. It also keeps the roots from touching the wet bottom of the pot directly.
Preparing the pot and soil mix correctly sets your bonsai for beginners up for success. A well-draining environment mimics the natural conditions of trees growing on rocky cliffs. This simple step prevents the most common cause of bonsai death: root rot.
Plant the tree with care
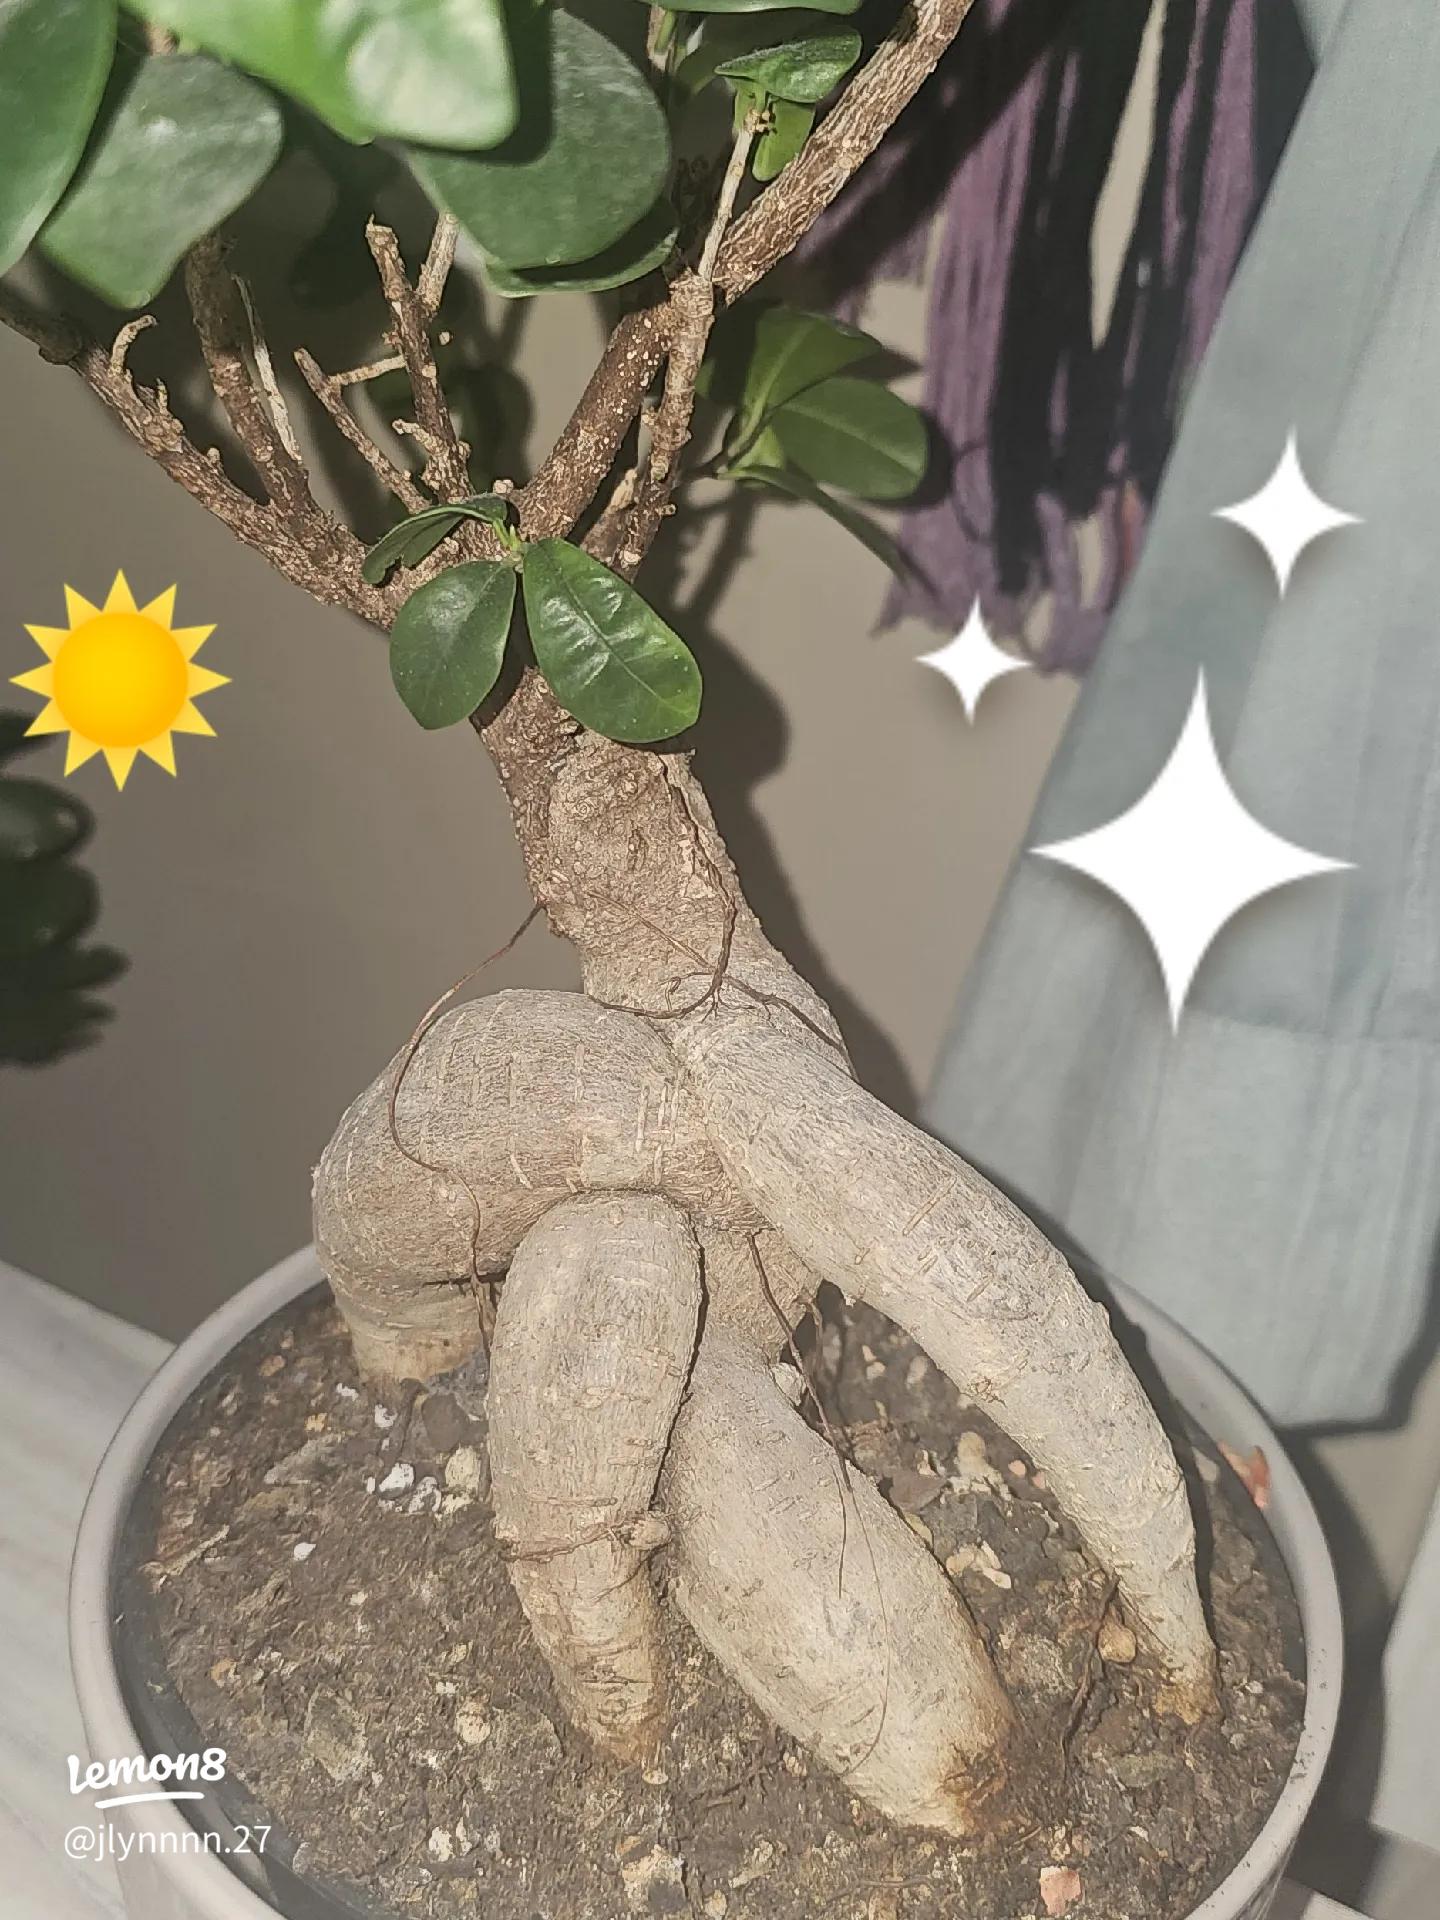
Repotting your first Bonsai for beginners is less about surgery and more about giving the roots room to breathe. The goal is to transition the tree from a crowded nursery pot into a shallow bonsai container without shocking the system. Follow this sequence to keep the root flare visible and the structure stable.
Turn the nursery pot sideways and squeeze the sides to loosen the soil. Tilt the tree forward and tap the bottom edge against your palm or a workbench. The root ball should slide out in one piece. If it resists, cut the nursery pot open with scissors rather than yanking the trunk, which can snap delicate roots.

Place the root ball on a flat surface. Use a root rake or a chopstick to gently comb out the bottom third of the soil. This reveals the root structure and removes circling roots that choke the tree. Trim any dead, mushy, or excessively long roots with clean, sharp scissors. Leave the healthy, fine feeder roots intact; they are the tree’s lifeline.
Place a mesh screen over the drainage holes in your bonsai pot. Add a thin layer of bonsai soil to the bottom. Set the tree on top, adjusting its angle and forward placement. The trunk taper should face the viewer, and the root flare (where the trunk meets the roots) must remain visible above the soil line. Do not bury the flare.
While holding the tree in place, push bonsai soil into the gaps between the roots. Use a chopstick to poke the soil deep into the root ball, eliminating air pockets. Tap the pot gently on the table to help the soil settle. Add more soil as needed until the pot is full, but keep the root flare exposed. The tree should feel firm and not wobble.

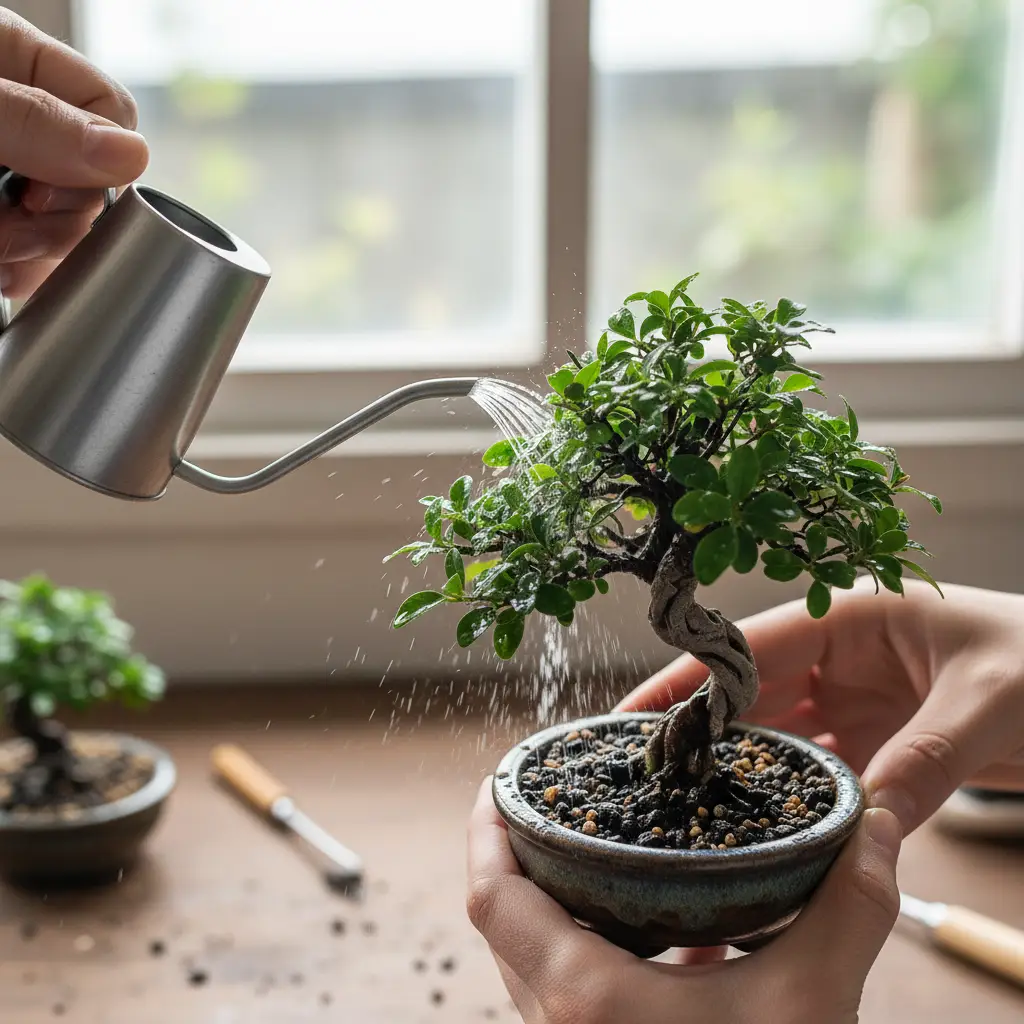
Water the tree immediately using a fine-rosette watering can or a hose with a gentle spray setting. Water until it runs freely out of the drainage holes. This settles the soil around the roots and removes any remaining air pockets. Place the tree in a shaded, sheltered spot for a few days to recover before returning it to its normal light conditions.
Master the watering routine
Watering is the single most common reason beginners kill their first bonsai. The mistake is usually treating the tree like a houseplant with a fixed schedule. A bonsai in a small pot has very little soil volume, so it dries out faster than you might expect. However, the exact frequency depends entirely on your environment, not the calendar.
Instead of guessing, use the finger test. Insert your finger about an inch into the soil. If it feels dry, water it. If it feels damp or cool, wait. This simple check works for almost every species and prevents the two biggest killers: underwatering and overwatering.
Push your finger into the soil near the trunk, about one inch deep. This is the root zone where moisture matters most. If the soil sticks to your finger, it still has water. If it comes away clean and dry, it is time to water.
:strip_icc()/conifer-bonsai-5b4a29c9-363681044cd84f8c927adf91f21ed9b2.jpg)
Water slowly until you see water running freely out of the drainage holes at the bottom of the pot. This ensures the entire root ball is saturated. Don't just wet the surface; the roots need consistent moisture throughout the soil mass.

After watering, empty any excess water from the tray underneath the pot. Bonsai roots hate sitting in stagnant water, which can lead to root rot. The tree should never sit in its own runoff.
The timing will shift with the seasons. In summer heat, you might need to water daily or even twice a day. In winter, the tree’s growth slows, and you may only need to water once a week or less. Always let the finger test guide you, rather than a rigid weekly routine.
Think of your bonsai like a small garden in a pot. It is a living system that responds to heat, wind, and light. By checking the soil directly, you stay connected to the tree’s actual needs. This habit is the foundation of successful bonsai for beginners.
Watch for common beginner mistakes
Bonsai for beginners is less about art and more about survival. Most new trees die from well-meaning care rather than neglect. The three biggest traps are overwatering, poor light placement, and premature styling. Avoiding these errors keeps your tree alive long enough to actually become a bonsai.
Overwatering and root rot
The most common killer of indoor bonsai is too much water. Bonsai soil is dense and drains differently than garden soil. If the pot sits in a saucer of standing water, the roots suffocate and rot. Water only when the top layer of soil feels dry to the touch. Ensure every pot has drainage holes and never let the tree sit in water.
Wrong light placement
A bonsai is a living plant, not a sculpture. It needs specific light levels based on its species. Tropical varieties like Ficus or Jade need bright, indirect light indoors. Temperate deciduous trees often struggle inside and may need a south-facing window or supplemental grow lights. Placing a tree in a dark corner stops photosynthesis, leading to weak growth and leaf drop.
Premature styling
New bonsai enthusiasts often rush to wire and prune the first year. This stresses the tree when it is trying to establish roots. Let the tree grow vigorously for at least one or two seasons to build trunk thickness and branch strength. Only begin detailed styling once the tree looks healthy and robust. Patience is the most important tool in your kit.
![close-up of bonsai tree branches being pruned,... - Stock Illustration [105114061] - PIXTA](/cdn/articles/9683fd3e-8846-46a6-bb83-dfb5120c5df5-36e795ef.jpg)
No comments yet. Be the first to share your thoughts!