
The rise of tiny trees
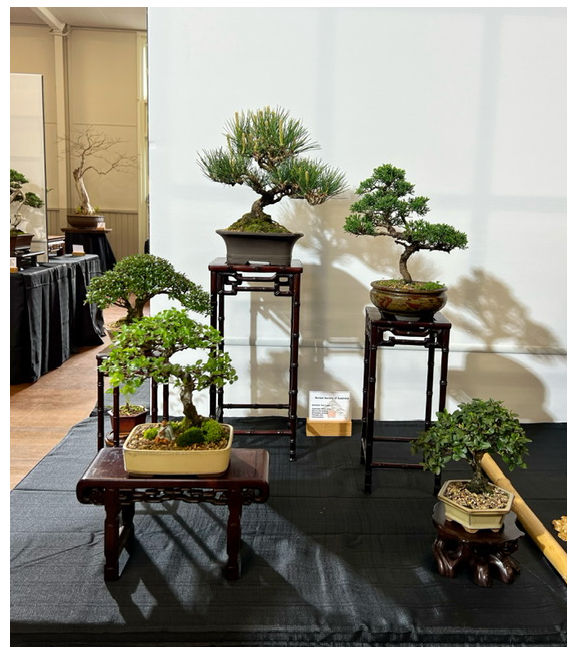
Bonsai are getting smaller. Shohin trees—those under 8 inches—are becoming the standard for people in city apartments. It isn't just a trend; it's a necessity for anyone living in a studio who still wants a connection to the outdoors. By 2026, I expect these miniatures to be more common than the traditional large-scale trees.
Historically, Shohin bonsai originated in Japan during the Edo period (1603-1868). Initially, they weren’t necessarily about smallness for its own sake. They were often created by traveling bonsai artists as a portable expression of their art, something they could easily carry with them. The emphasis was always on refinement and capturing the essence of a full-sized tree in miniature. It’s a different aesthetic than larger bonsai, demanding a different skillset and a more focused eye for detail.
The increasing urbanization of our lives is a major driver. A sprawling juniper might be a beautiful sight, but it’s hardly practical for a studio apartment. Shohin bonsai offer a solution. They bring the tranquility and artistry of bonsai into spaces where larger trees simply wouldn’t fit. I believe this accessibility is what’s fueling the growth, and it’s a welcome change for those of us who want to experience the art of bonsai regardless of our living situation.
While the broader bonsai hobby ebbs and flows with general gardening trends, I expect Shohin to maintain its momentum. The design challenges it presents are attracting a new generation of enthusiasts, and the relatively low cost of entry compared to larger, established trees makes it appealing to beginners. It’s a very approachable artform, and 2026 feels like the perfect time to get involved.
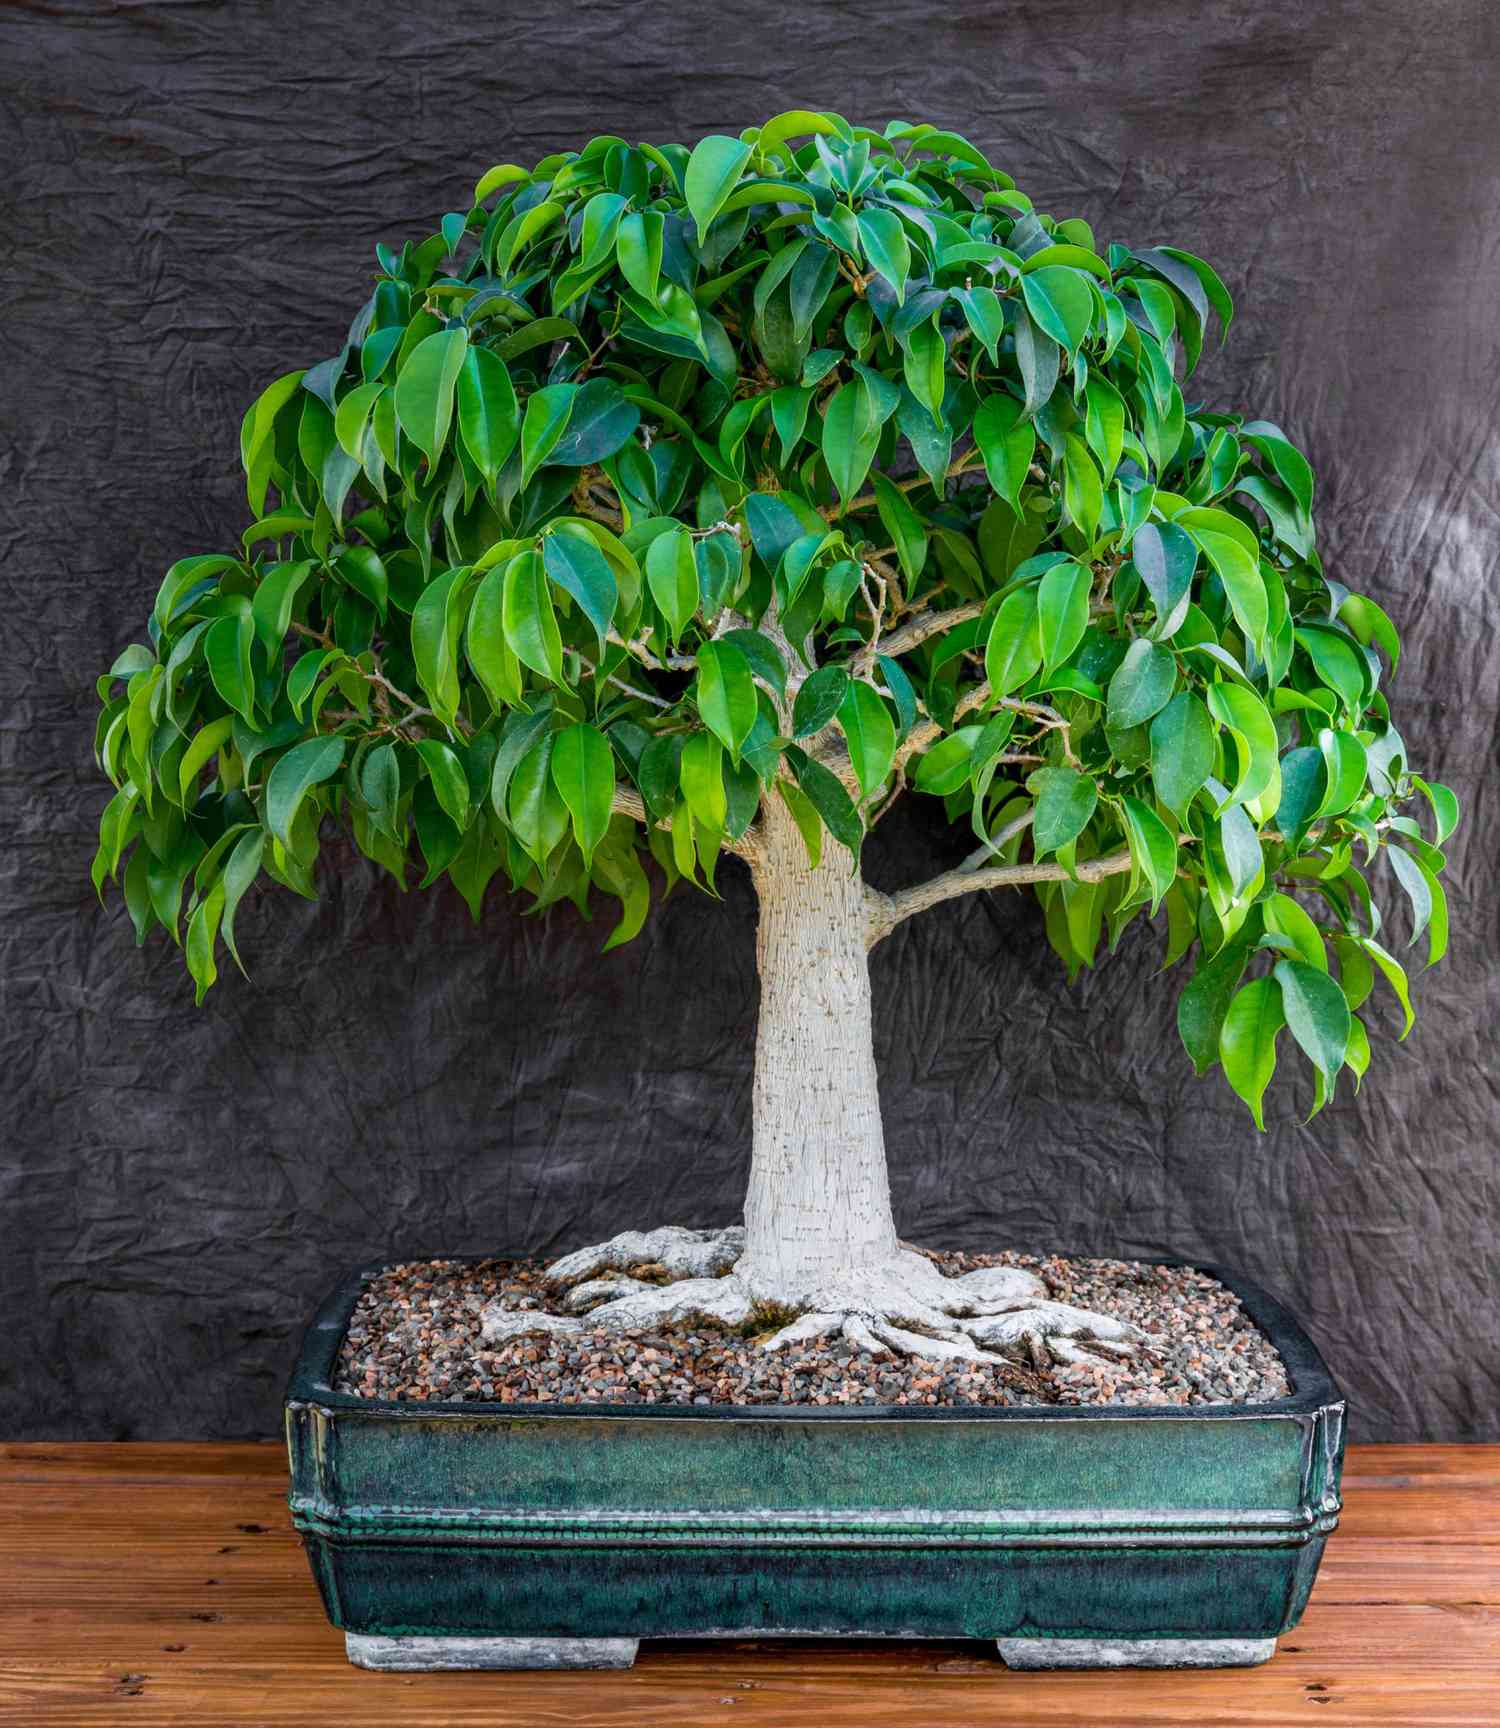
Species for small apartments
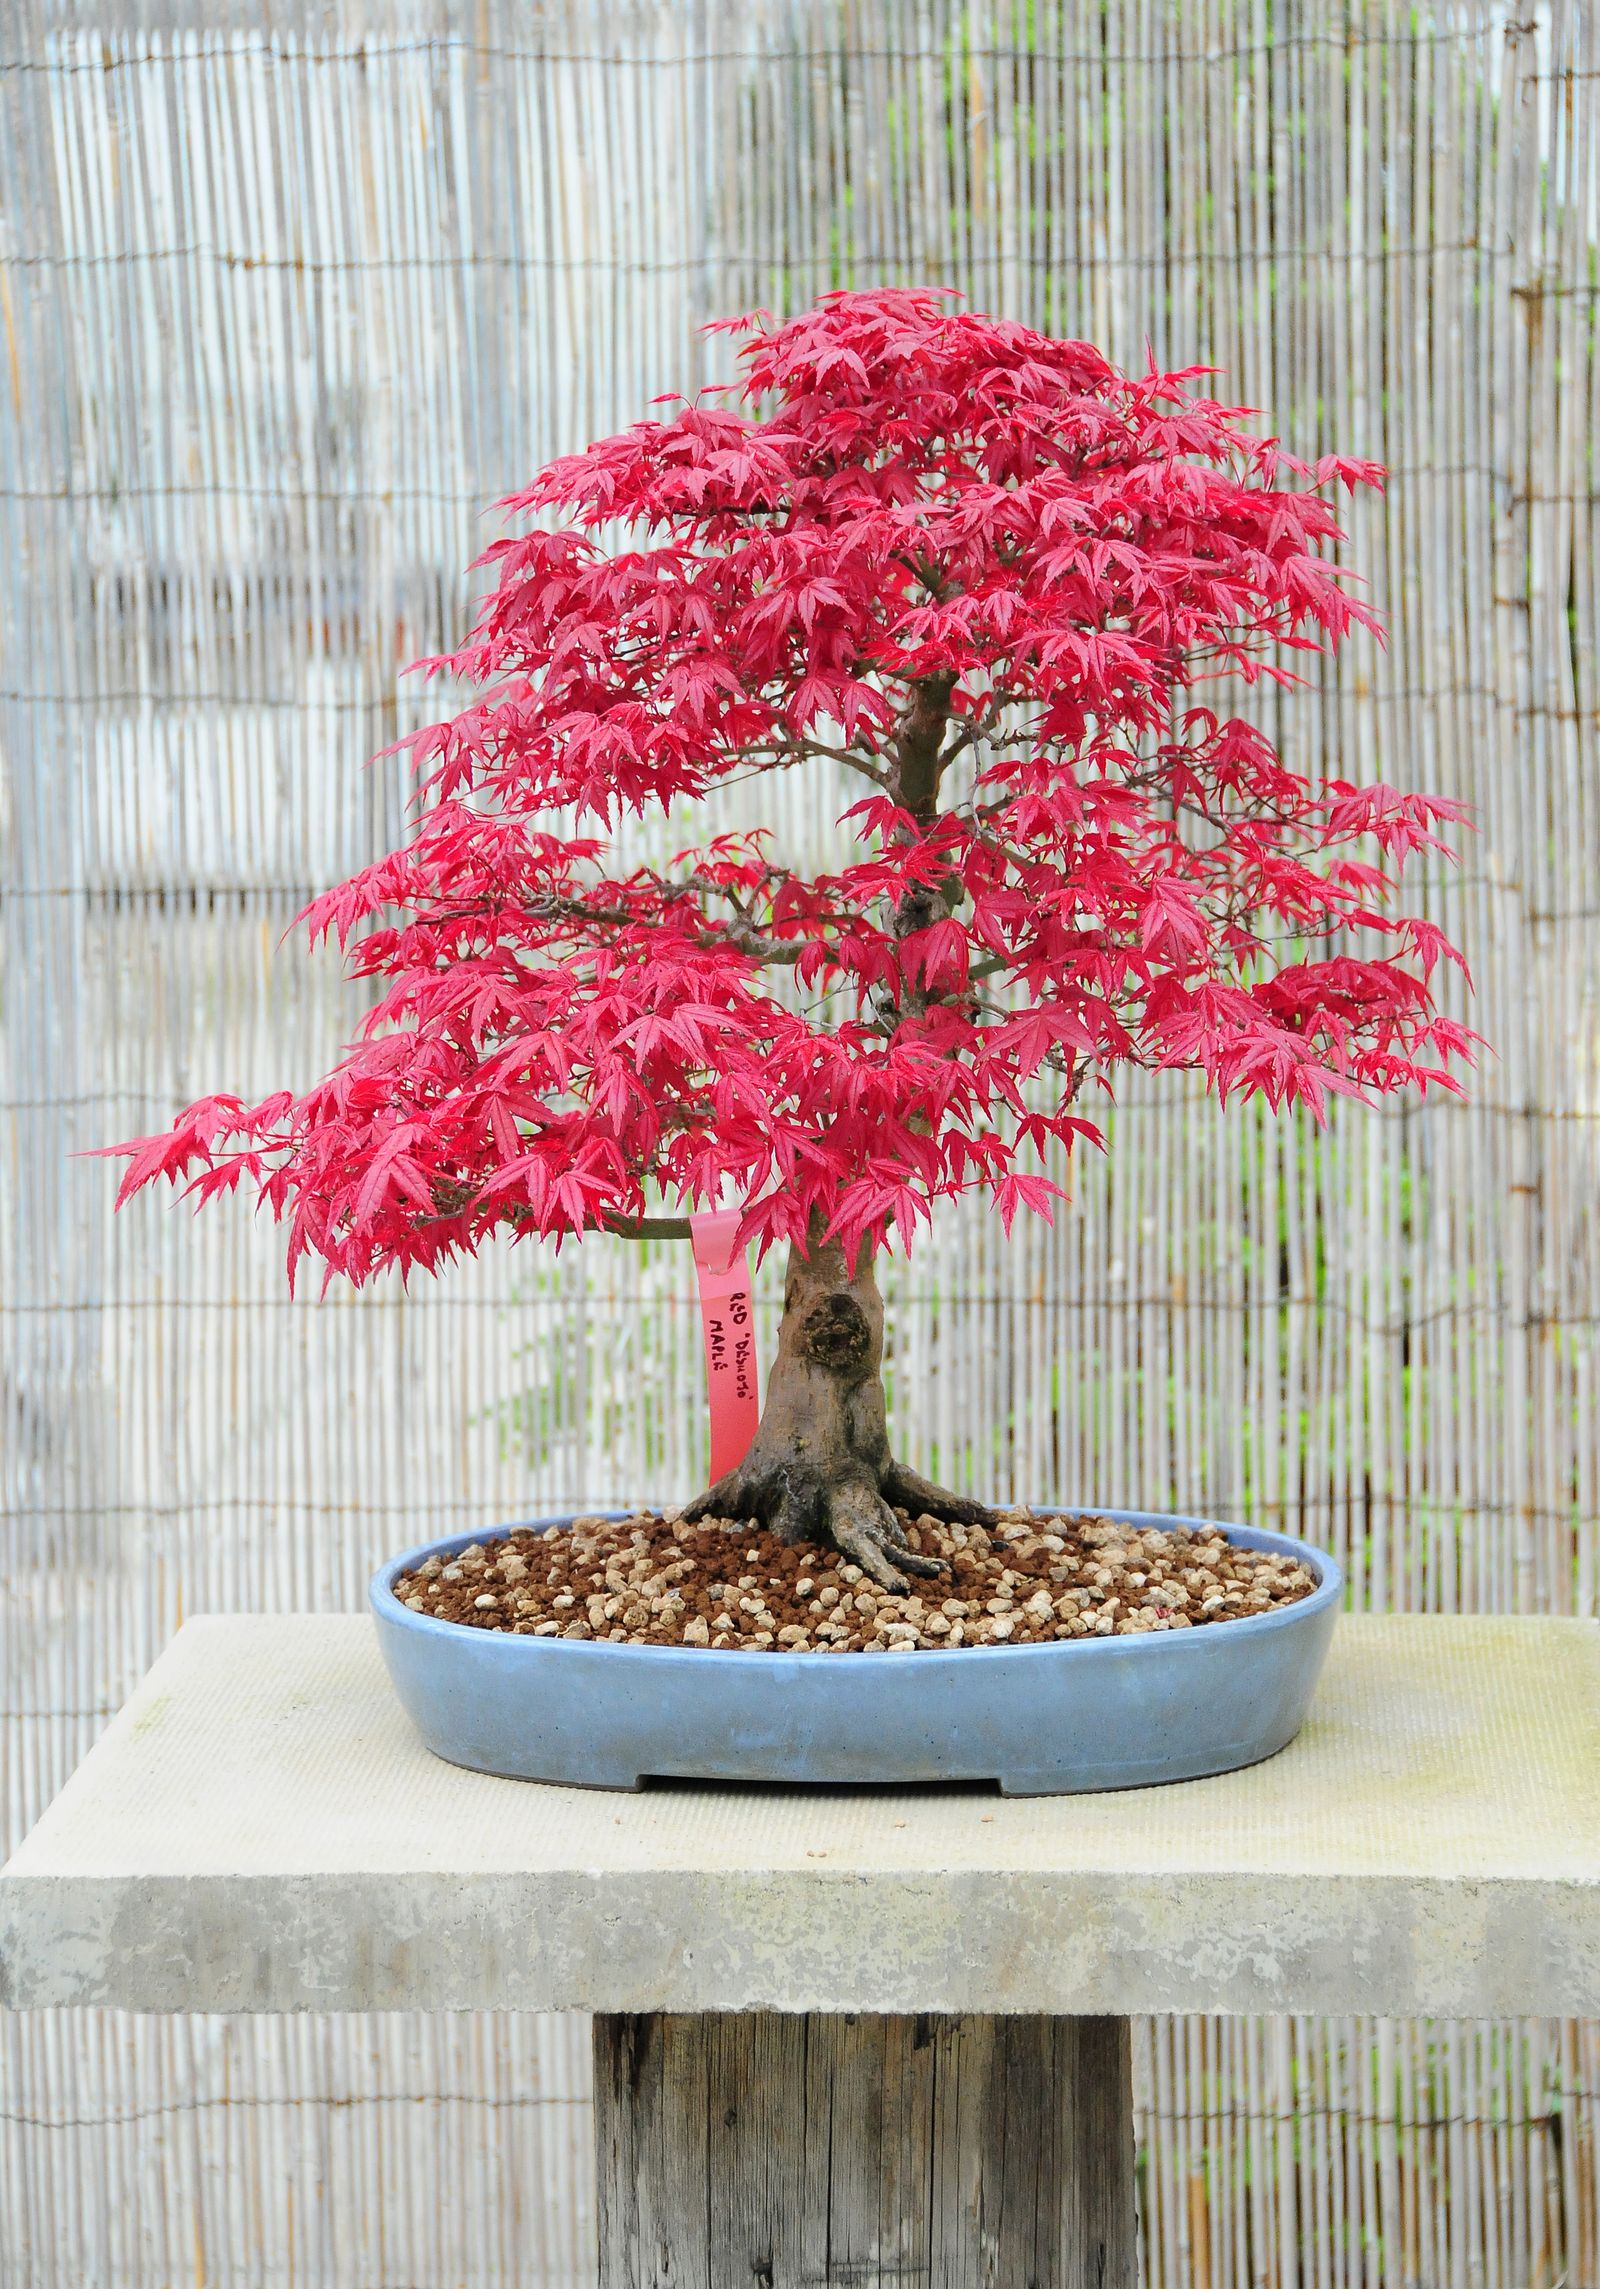
Choosing the right tree species is the first step toward success with Shohin bonsai. For apartment living, it’s best to select species that are relatively tolerant of indoor conditions and don’t require a lot of direct sunlight. Japanese Maple (specifically dwarf cultivars like "Shishigashira’ or ‘Kiyohime") are popular choices, but they do need a period of dormancy and bright, indirect light.
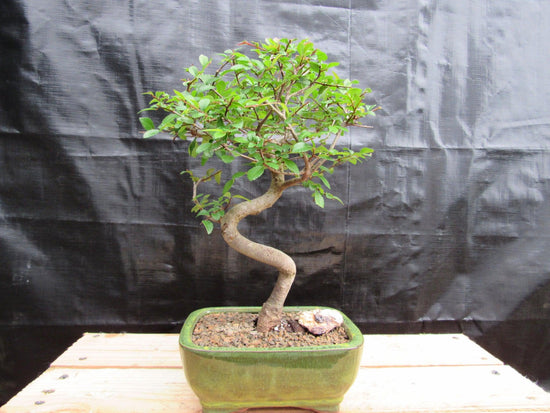
Ficus retusa is an excellent option for beginners. It’s incredibly forgiving, tolerates a wide range of conditions, and develops interesting aerial roots. Chinese Elm (Ulmus parvifolia) is another good choice, known for its graceful branching and ability to withstand pruning. These species can handle the drier air often found in apartments.
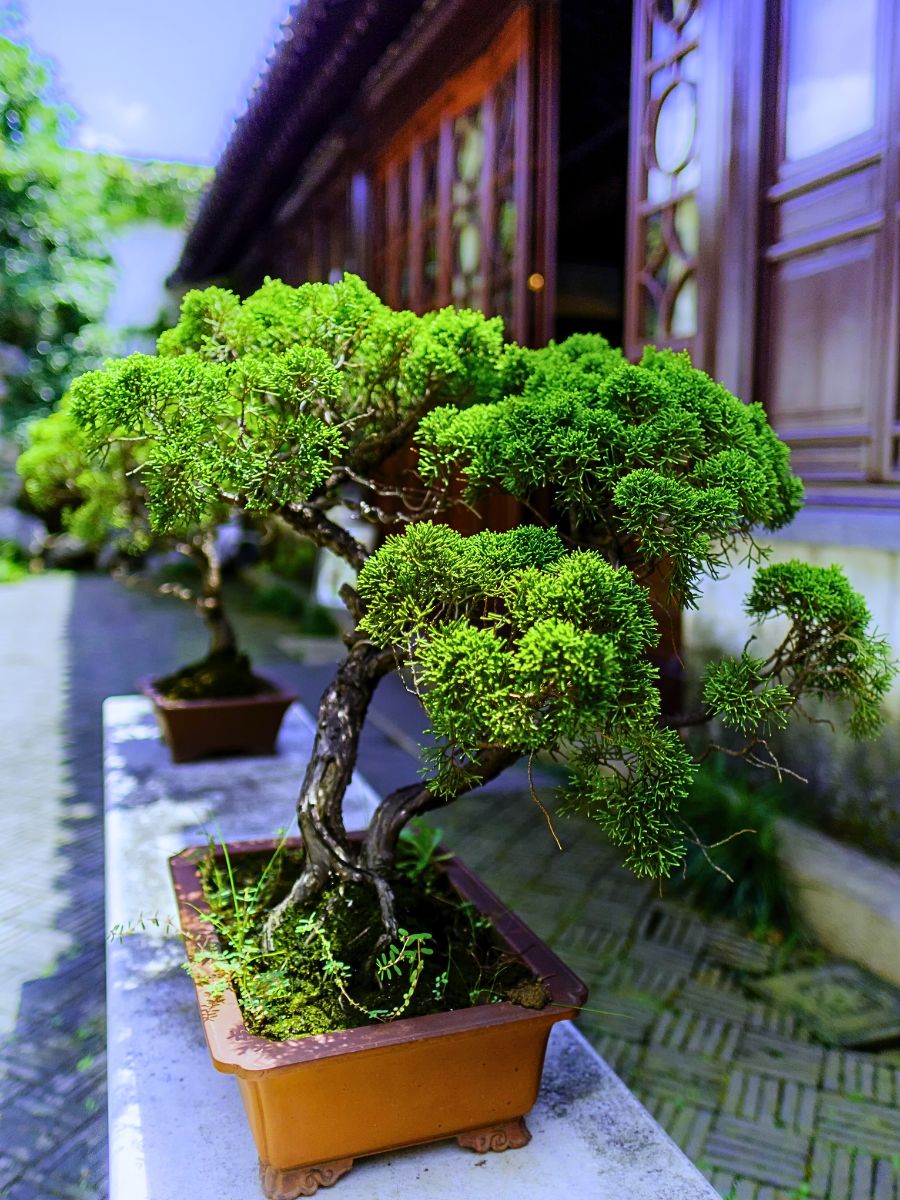
Low-growing Juniper cultivars, like "Procumbens Nana," can also be trained as Shohin bonsai, but they require very bright light and good ventilation. Be careful with Junipers; they are prone to spider mites in dry indoor environments. Avoid species that demand very specific humidity levels or are highly susceptible to pests, like certain pines or azaleas, especially if you're new to the art.
Here’s a quick guide to the basic needs of each species:
- Japanese Maple (Dwarf Varieties): Bright indirect light, consistent moisture, good ventilation.
- Ficus retusa: Tolerates lower light, allow soil to dry slightly between waterings, moderate humidity.
- Chinese Elm: Bright indirect light, regular watering, moderate humidity.
- Juniper (Low-growing cultivars): Full sun (or very bright grow light), well-draining soil, good ventilation.
Essential tools
You don’t need to invest in a full workshop to get started with Shohin bonsai. However, a few essential tools will make the process much easier. Bonsai shears are crucial for precise pruning. Concave cutters are used to remove branches cleanly, creating a natural-looking wound. A root hook helps to gently loosen soil during repotting.
Wiring is an important technique for shaping branches, and you’ll need both aluminum and copper wire in various gauges. A good quality soil mix designed specifically for bonsai is also essential – avoid using regular potting soil. I recommend a mix based on akadama, pumice, and lava rock. You can find pre-mixed bonsai soil or create your own.
I buy my gear from Bonsai Outlet or Evergreen Gardenworks. You don't need a full kit on day one. Start with shears, concave cutters, and a bag of soil, then add specialized tools as you actually need them.
Remember, quality tools will last longer and make your work more enjoyable. Cheaper tools may be dull or flimsy, making it difficult to achieve the precise cuts needed for bonsai styling. Prioritize a few good quality items over a large collection of inferior tools.
Shohin Bonsai Species Comparison for Apartment Living
| Species | Difficulty | Light Requirements | Water Needs | Pest Resistance |
|---|---|---|---|---|
| Japanese Maple (Acer palmatum) | Intermediate | Medium to High | Medium | Medium |
| Ficus (Ficus retusa) | Beginner | Medium | Medium | High |
| Chinese Elm (Ulmus parvifolia) | Beginner | Medium to High | Medium | Medium |
| Juniper (Juniperus procumbens 'Nana') | Beginner | High | Low to Medium | Medium |
| Dwarf Jade (Portulacaria afra) | Beginner | High | Low | High |
| Cotoneaster (Cotoneaster horizontalis) | Intermediate | Medium to High | Medium | Medium |
| Boxwood (Buxus microphylla) | Intermediate | Medium | Medium | Medium |
Illustrative comparison based on the article research brief. Verify current pricing, limits, and product details in the official docs before relying on it.
Light and water indoors
Providing adequate light and water can be challenging in an apartment setting. Most bonsai trees need at least 6 hours of bright, indirect light per day. If your apartment doesn’t receive enough natural light, consider using a grow light. LED grow lights are energy-efficient and can be positioned close to the tree without overheating.
When choosing a grow light, look for one with a full spectrum of light to mimic natural sunlight. The wattage will depend on the size of your tree and the distance from the light source. Proper watering is equally important. Avoid overwatering, which can lead to root rot, and underwatering, which can cause the leaves to dry out and drop. Check the soil moisture regularly.
Humidity is another factor to consider. Apartments often have low humidity, especially during the winter months. You can increase humidity by placing the bonsai on a humidity tray filled with pebbles and water, or by using a small humidifier. Assessing your apartment’s microclimate is key. Notice which areas receive the most light and which are the driest.
I’ve found that grouping bonsai together can help create a more humid microclimate. This isn’t a substitute for proper humidity control, but it can be a helpful supplement. Pay attention to your trees – they’ll tell you if they’re getting enough light and water.
Styling basics
Bonsai styling is an art form that takes years to master. For beginners, the focus should be on basic pruning and wiring techniques. Pruning helps to control the size and shape of the tree, while wiring allows you to bend branches into desired positions. Start by observing the tree’s natural growth patterns and identifying branches that detract from the overall design.
When pruning, remove branches that are crossing, growing straight up or down, or are too thick for the trunk. Wiring should be done carefully to avoid damaging the bark. Wrap the wire loosely around the branch and bend it gently into the desired position. Remove the wire before it starts to bite into the bark.
Creating a sense of age and character is a key element of Shohin bonsai styling. This can be achieved through techniques like deadwood styling (creating the illusion of aged, dead branches) and surface root development. However, these techniques are more advanced and should be attempted only after you’ve gained some experience.
Be cautious. It’s easy to over-prune or wire too tightly, potentially damaging the tree. Practice on less valuable material first and don’t be afraid to experiment. Remember, bonsai styling is a process, not a one-time event. It takes time and patience to create a truly beautiful and refined Shohin bonsai.
Common problems
Even with the best care, Shohin bonsai can encounter problems. Pests like spider mites and aphids are common, especially in dry indoor environments. Inspect your trees regularly for signs of infestation and treat promptly with insecticidal soap or neem oil. Leaf drop can be caused by a variety of factors, including overwatering, underwatering, or insufficient light.
If you notice yellowing or browning leaves, try to identify the cause and adjust your care accordingly. Diseases are less common, but can occur if the tree is stressed or grown in poor conditions. Ensure good air circulation and avoid overwatering to prevent fungal diseases. Root rot is a serious problem that can be fatal.
Repotting is necessary every 2-3 years to refresh the soil and prevent the tree from becoming root-bound. The best time to repot is in the spring, before new growth begins. Gently remove the tree from its pot, prune the roots, and repot in a fresh bonsai soil mix. Be careful not to damage the roots during the process.
Early detection is key to resolving most problems. Regularly inspect your trees, pay attention to their needs, and don’t hesitate to seek advice from experienced bonsai enthusiasts. There are many online forums and communities where you can find helpful information and support.
Are you ready to find your zen? Join us as we explore the ancient Japanese art of cultivating and shaping miniature trees at our "Indoor Bonsai for Beginners" class. Learn more at https://t.co/YzoNPToQO0. pic.twitter.com/cpk3ldkeV5
— Currituck Extension (@CurrituckCES) April 26, 2026
No comments yet. Be the first to share your thoughts!