
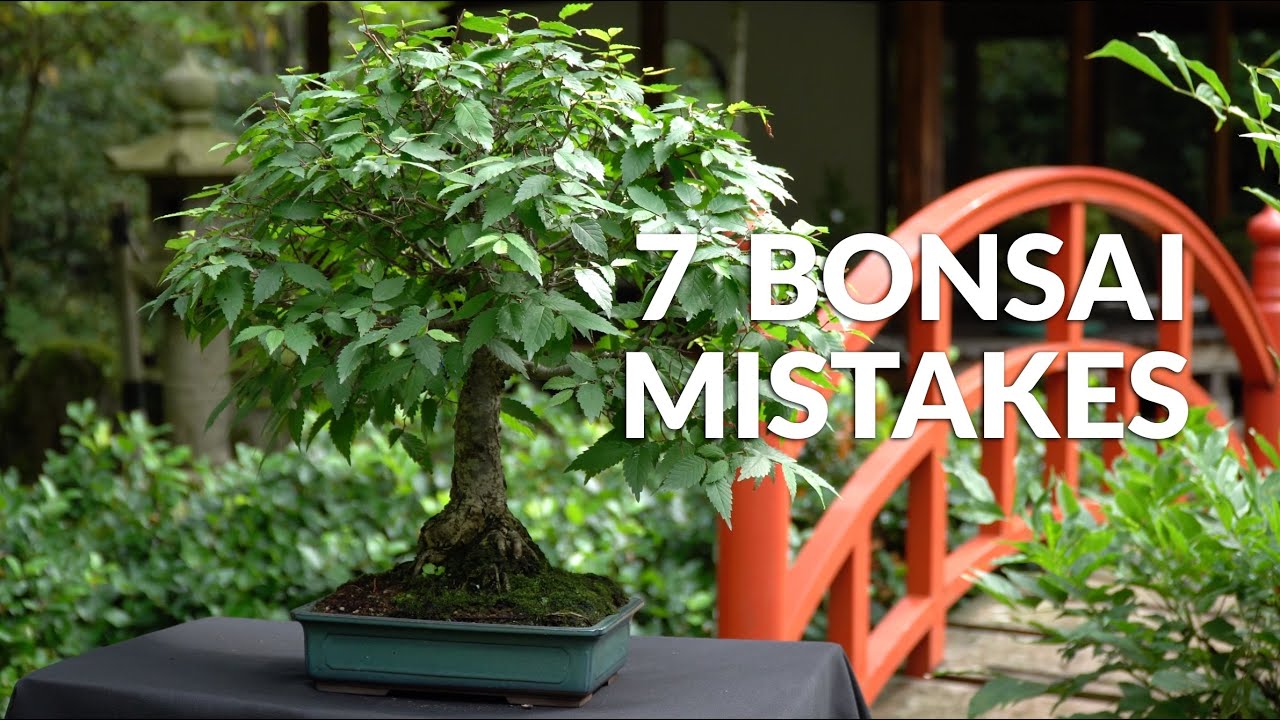
The trap of instant aging
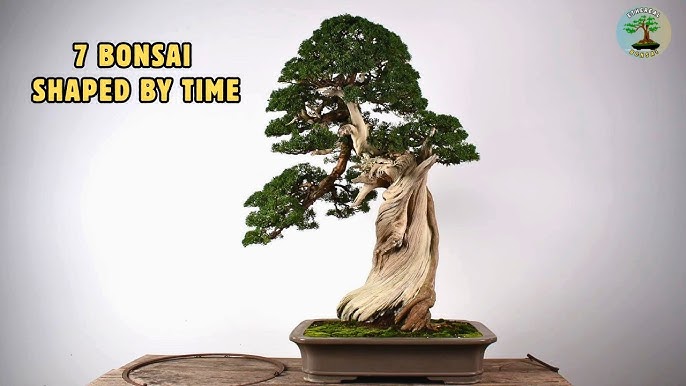
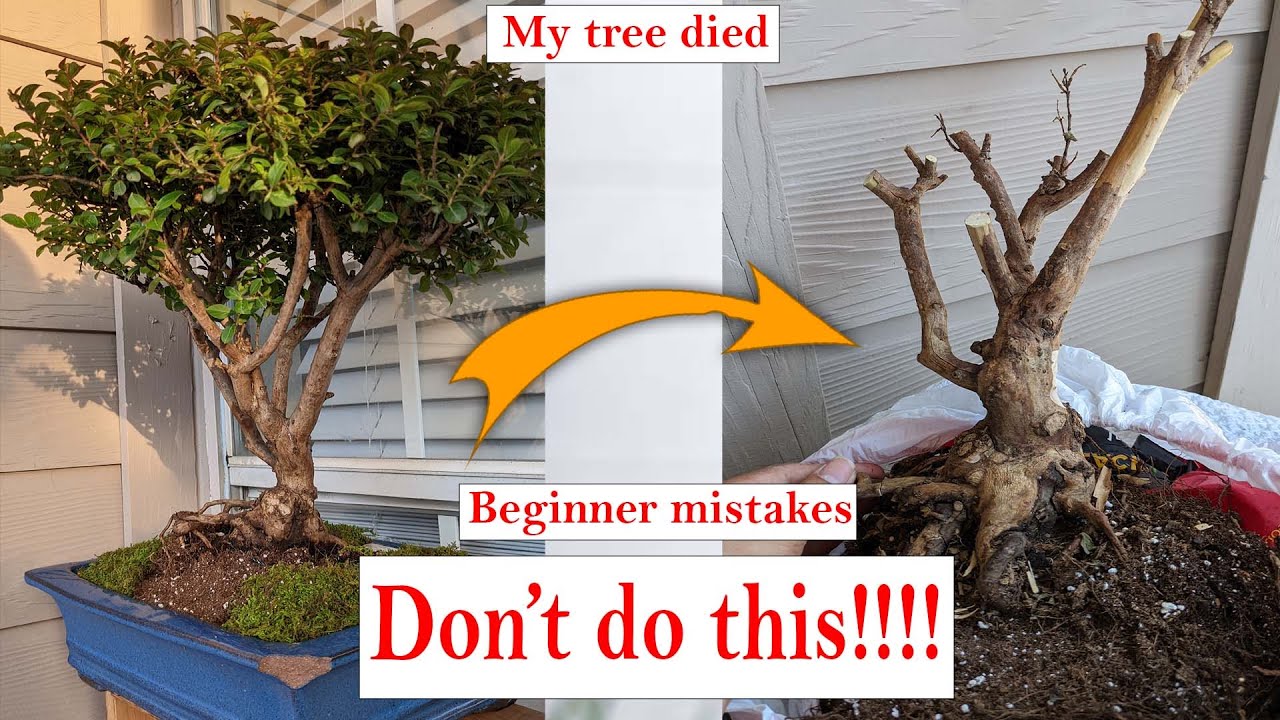
One of the most frequent errors beginners make is trying to force age onto a young tree. They see dramatic, weathered bonsai and immediately attempt to replicate that look through aggressive bending, carving, or creating artificial deadwood (jin and shari). This rarely works well, and often causes significant damage. A young tree needs time to develop naturally; it hasn’t earned that aged appearance.
There’s a big difference between "suggested age’ and ‘forced age’. A skilled stylist can create the illusion of age through subtle techniques, but trying to artificially impose it on a tree that isn’t ready is a recipe for disaster. You might end up with broken branches, stressed foliage, or an unnatural, contrived look. Bonsaiempire.com emphasizes the importance of understanding the tree"s growth habits and working with them, not against them.
A trunk needs years to thicken. You can't rush it. Focus on the roots and branch placement first. The age shows up on its own eventually.
Why you should keep fewer branches
Beginners often fall into the trap of thinking more branches equal a more impressive bonsai. This leads to congested, overcrowded trees that lack refinement. The goal isn’t to maximize the number of branches, but to create a balanced, aesthetically pleasing composition. You need to be ruthless with your pruning.
Start by identifying and removing branches that are growing straight up or down, or that are crossing or opposing each other. These branches disrupt the flow of the design and detract from the overall aesthetic. Prioritize branches that radiate outwards, creating a sense of depth and dimension. Look for alternating branch placement – branches shouldn’t emerge from the trunk directly opposite each other.
Consider the tree’s future growth. Will that branch eventually become too thick and dominate the design? Will it obstruct the view of other important branches? The Central Florida Bonsai Club handbook stresses the importance of visualizing the tree’s potential and pruning accordingly. Don’t be afraid to remove branches, even if they seem healthy. Sometimes, less truly is more.
A good rule of thumb is to ask yourself: does this branch contribute to the overall design? If the answer is no, it’s probably time to remove it. Remember, you're sculpting a miniature tree, not just maintaining its natural growth.
Trunk Line: Straight Isn't Always Strong
It's tempting, especially when starting out, to choose or style trees with perfectly straight trunks. We often associate straightness with strength and health. However, in bonsai, a slight curve or taper is almost always more aesthetically pleasing. It creates a sense of age, movement, and resilience.
A straight trunk can look stiff and unnatural. A gentle curve suggests that the tree has weathered storms and adapted to its environment. The taper – the gradual narrowing of the trunk from base to apex – adds to this sense of age and maturity. It mimics the natural growth pattern of trees in the wild.
You can subtly encourage trunk movement through careful wiring or gentle bending. However, avoid harsh angles or forceful manipulation, as this can damage the tree. It's a slow process, requiring patience and a delicate touch. I'm not sure if there's a specific 2026 trend towards a particular trunk style, but this principle remains consistently valued.
Faking density with foliage pads
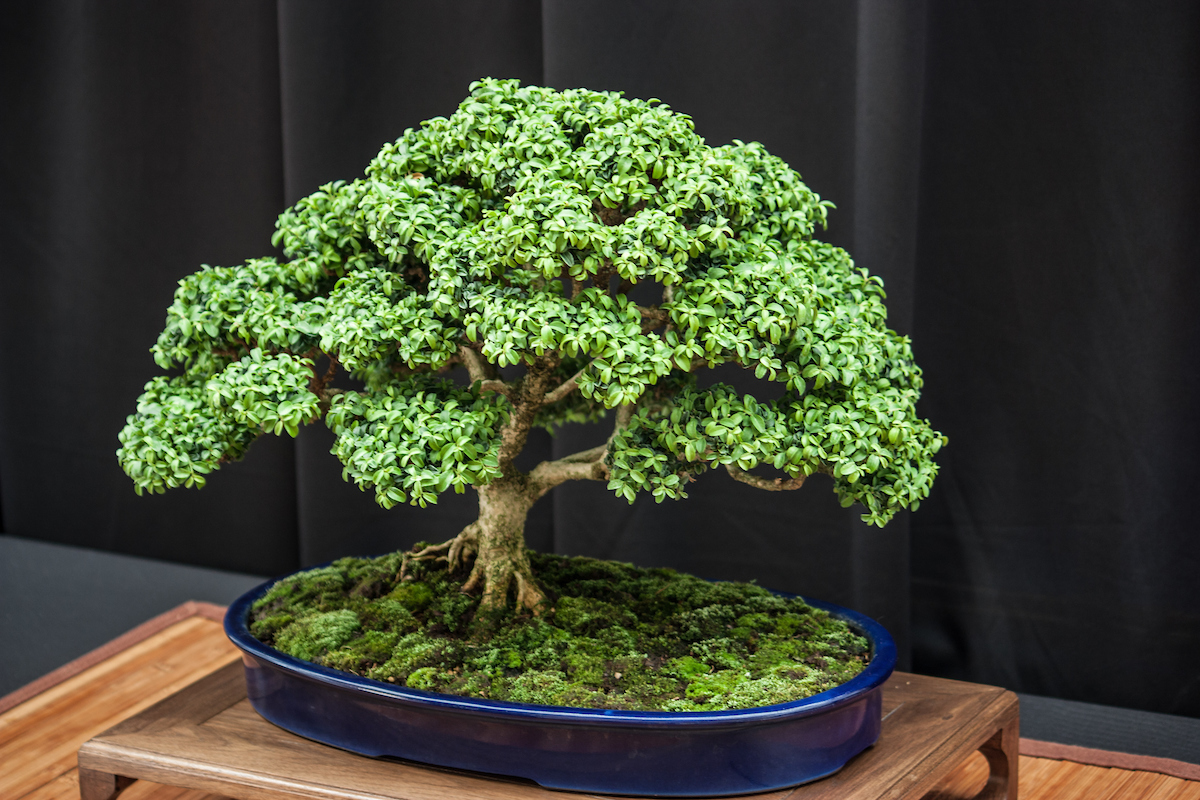
Developing well-defined foliage pads is essential for creating a realistic and visually appealing bonsai. A common mistake is letting foliage become too dense and shapeless. This obscures the branch structure and makes the tree look like a solid green blob. The goal is to create the illusion of density, not actual density.
Techniques like selective pruning and defoliation (removing leaves, typically on deciduous trees) can help you achieve this. Pruning encourages ramification – the development of fine branching – which creates a more textured and compact foliage pad. Defoliation, when done correctly, can stimulate a new flush of smaller, more densely packed leaves.
Think of foliage pads as clouds. They have shape, volume, and a sense of movement. Avoid creating perfectly round or symmetrical pads, as these look unnatural. Instead, aim for organic, irregular shapes that complement the overall design. Well-developed foliage pads are key to conveying a sense of age and maturity in your bonsai.
- Prune to encourage fine branching.
- Defoliate (when appropriate) to stimulate new growth.
- Shape foliage pads for an organic look.

Don't ignore the root flare
The root flare – or nebari – is often overlooked by beginners, but it’s a crucial element of a good bonsai. A strong, well-developed root flare contributes to the tree’s stability and creates a sense of age and grounding. Neglecting the root flare can make even a well-styled tree look weak and unstable.
During repotting, take the time to carefully expose and enhance the root flare. Gently remove any soil that is covering the roots, and spread them out to create a wider, more visible flare. Be careful not to damage the roots in the process. A gradual approach is best; don’t try to expose too much root flare at once.
A good nebari should radiate outwards in all directions, giving the tree a solid, planted appearance. It’s the foundation of the entire bonsai, and it deserves your attention. It’s a subtle detail, but it can make a huge difference in the overall impact of your tree.
Wiring Woes: Too Tight, Too Long
Wiring is a powerful technique for shaping bonsai, but it’s also one that’s easily misused. Common mistakes include using wire that is too thin or too thick, leaving wire on for too long, wiring at incorrect angles, and damaging the bark. These errors can lead to unsightly scars or even kill branches.
Always choose wire that is the appropriate gauge for the branch you are wiring. Too thin, and it won't provide enough support. Too thick, and it can damage the bark. Apply the wire at a 45-degree angle, and avoid crossing the wire over itself. Monitor the tree closely for signs of damage, such as indentations in the bark.
Remove the wire before it starts to bite into the bark. This is crucial. Wiring is a temporary measure, and leaving it on for too long can cause permanent damage. A general rule is to remove the wire within a few months, but this will vary depending on the species and growth rate of the tree.

Styling Standouts: Juniper and Maple
Let’s look at two popular beginner species – Juniper and Maple – and highlight some specific styling mistakes. Junipers are often over-pruned, resulting in sparse, unnatural-looking trees. Avoid removing too much foliage at once, and be careful not to create unnatural deadwood (jin and shari) on young material.
With Maples, a common mistake is neglecting leaf reduction. Large leaves can overwhelm the overall design, making the tree look coarse and immature. Techniques like selective pruning and defoliation can help reduce leaf size and create a more refined appearance. Another error is allowing branches to become too thick. Maple branches tend to grow quickly, so regular pruning is essential to maintain their shape and proportion.
For Junipers, focus on creating a dense, layered foliage structure. For Maples, prioritize branch ramification and leaf reduction. Both species benefit from a careful, considered approach to styling. Remember, patience and observation are key to success.

No comments yet. Be the first to share your thoughts!